
People often search for the best DPI for print, but three terms describe different parts of image-making and printing. PPI describes pixels per inch in a raster image at its placed size. DPI describes the addressable dots an output device can produce. LPI describes the halftone screen frequency used in some commercial printing workflows. Align sheet dimensions with ISO 216 international paper standards and preflight color separations using Adobe InDesign print-ready PDF guidelines.
Separate DPI, PPI and LPI
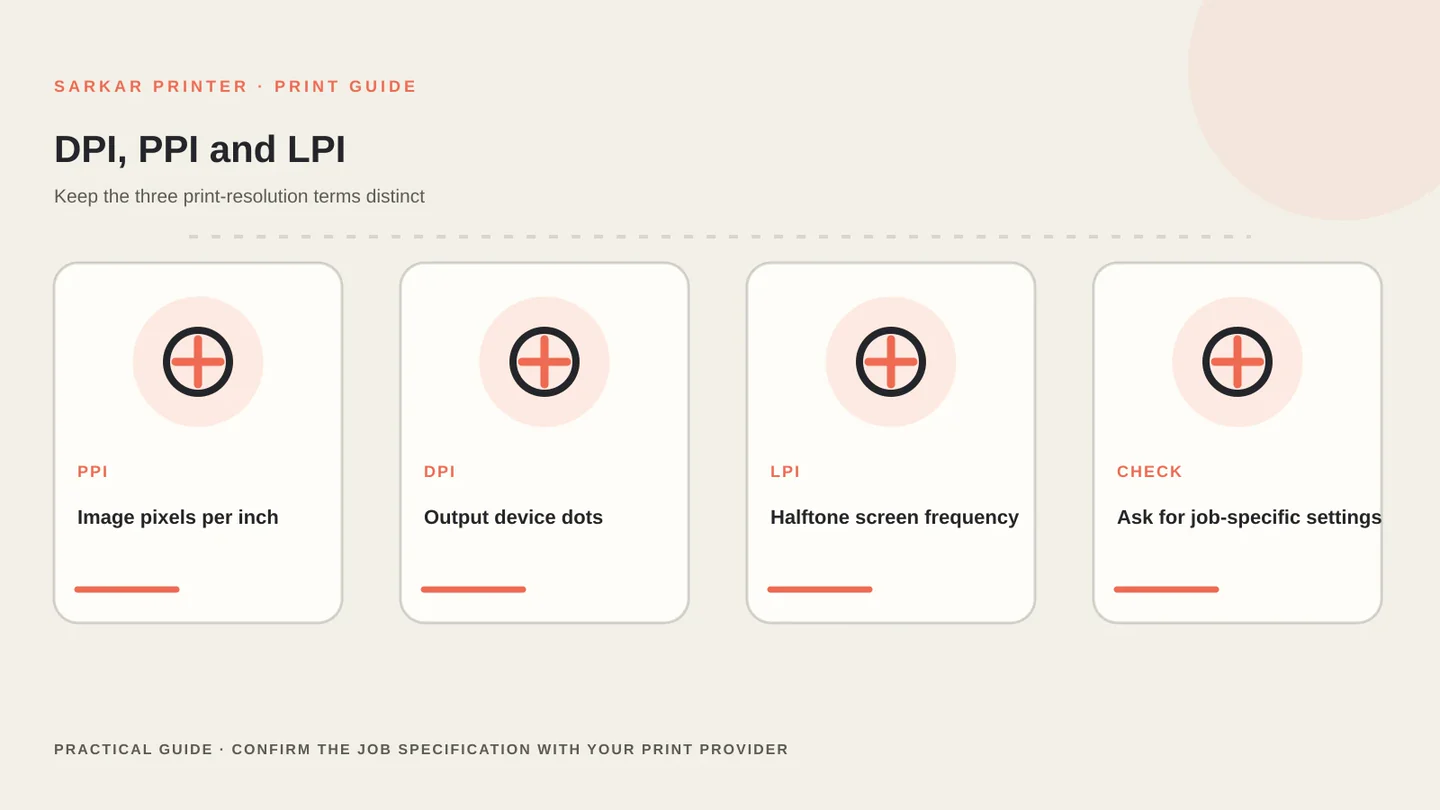
People often search for the best DPI for print, but three terms describe different parts of image-making and printing. PPI describes pixels per inch in a raster image at its placed size. DPI describes the addressable dots an output device can produce. LPI describes the halftone screen frequency used in some commercial printing workflows.
These values relate, but they are not interchangeable. A high-DPI press cannot invent image detail that the file does not contain. A file marked 300 PPI is not automatically suitable if its pixel dimensions are too small for the final print size.
Adobe explains image resolution as pixels assigned to each inch of a printed image; it also distinguishes image resolution from printer output resolution. The practical takeaway: check effective PPI at the final size and confirm production requirements with the printer.
Calculate effective PPI at final size
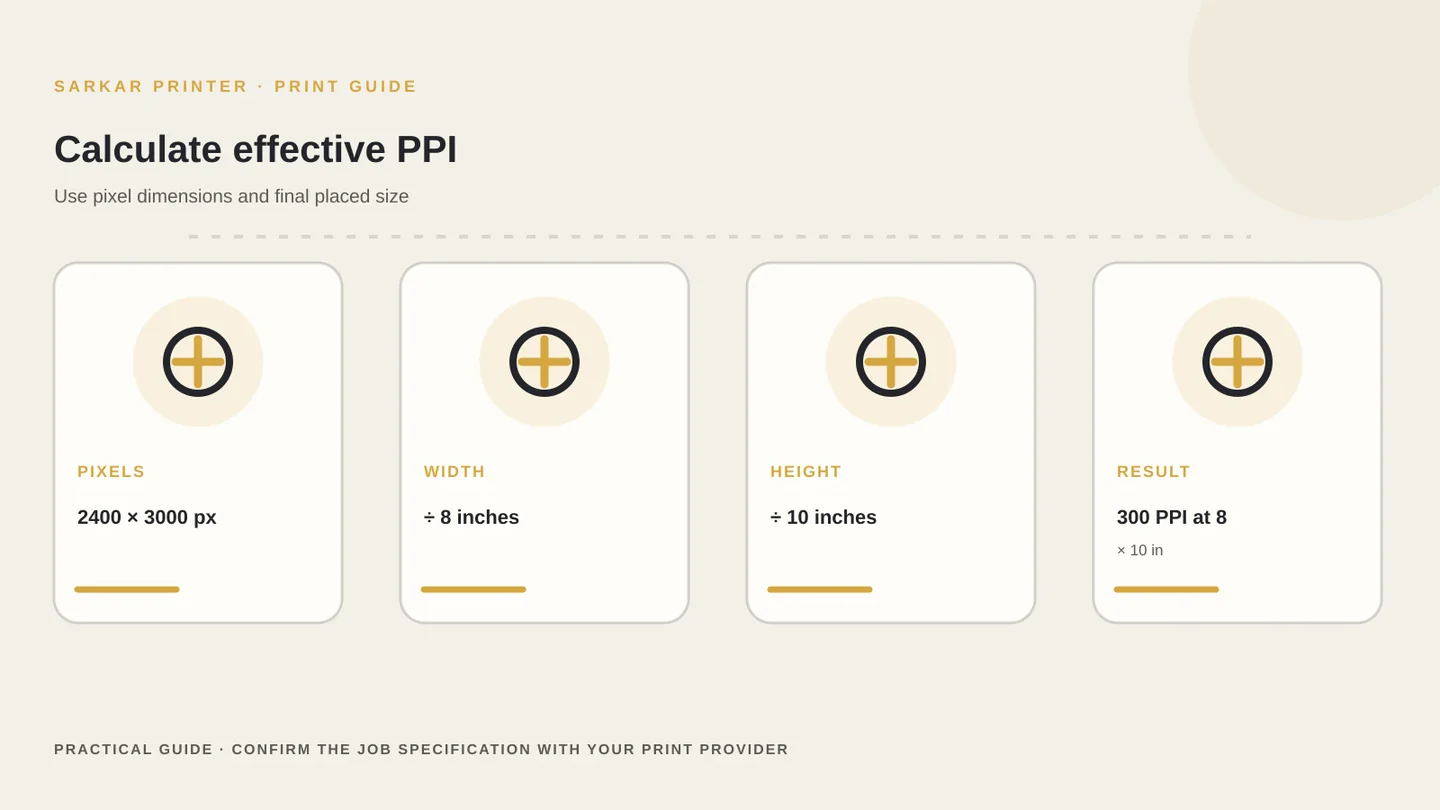
Use the pixel dimensions and final printed dimensions. Divide the image width in pixels by the finished width in inches; repeat for height. If the values differ, check whether the image will stretch or crop.
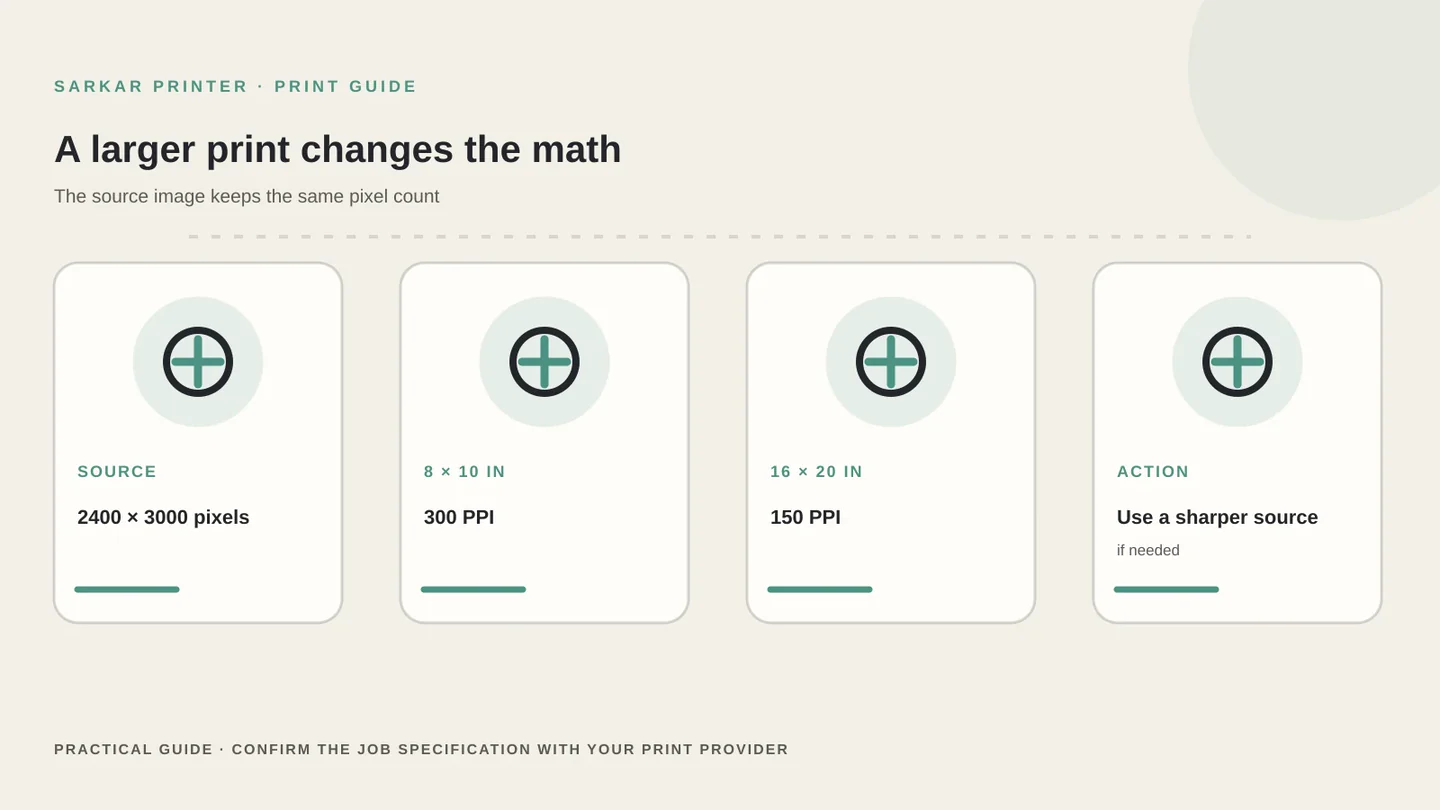
For example, a 2400 × 3000 pixel image placed at 8 × 10 inches works out to 300 PPI in both directions. If you enlarge the same image to 16 × 20 inches, its effective resolution becomes 150 PPI. The source file has not gained new pixels; the same pixels now cover more area.
Use the actual crop and placement from the layout, not just the file’s metadata label. A design app may show a resolution value that changes when you resize the image without resampling. For a broader handoff, see our print artwork image checklist.
Choose a resolution for real viewing conditions
About 300 PPI at final size is a useful starting point for many close-viewed commercial images, but it is not a universal rule. The output device, print process, halftone screen, image content and viewing distance all matter. A large sign viewed from farther away may not need the same pixel density as a small photograph held in the hand.
Do not reduce resolution blindly to meet a rule or enlarge a small web image and assume the missing detail has returned. Upsampling can add pixels mathematically, but it cannot recreate original photographic detail. If the image looks soft at its intended size, request a larger original or change the crop.
For fine text, line art and logos, use vector artwork where possible. Vector shapes scale cleanly; raster images depend on their actual pixel data. Keep the logo or mark as a vector when your design workflow supports it.
Preflight images before export
Check every placed image at the final trim size. Inspect the effective resolution in your layout or preflight tool, then confirm that the crop keeps the important subject inside the safe area. Replace low-resolution previews with the original production image before export.
Export the correct PDF preset for the printer’s workflow. Avoid repeated JPEG saves that add compression artifacts, and do not resample all images without understanding the output settings. Follow the supplier’s colour, bleed and PDF requirements too.
Ask the print provider to flag any image below its recommended threshold. The team can then choose a sharper source, reduce the image size or adjust the design. Pair this check with our bleed, trim and safe-area guide and font handoff guide.
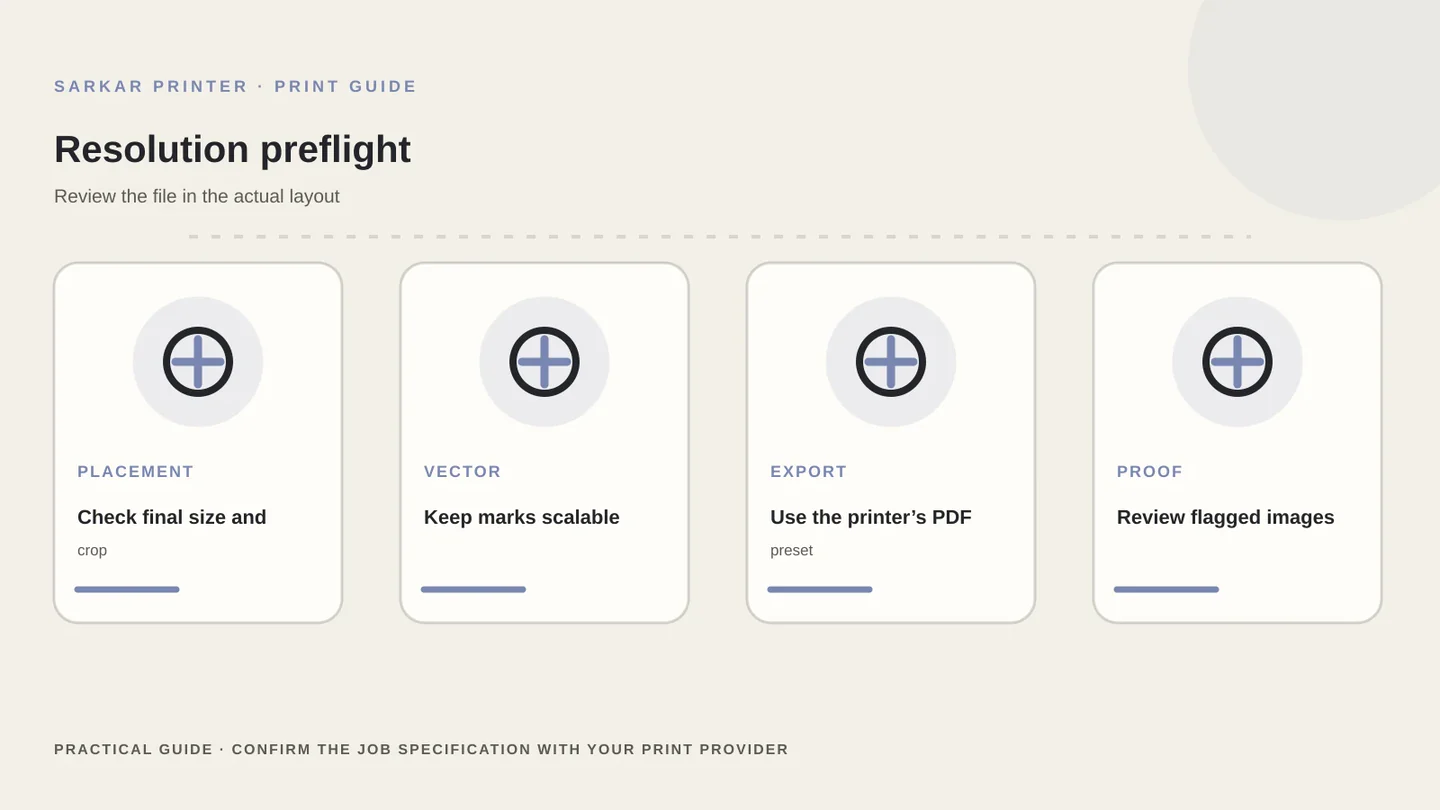
Image resolution planning reference
These are planning examples, not universal press specifications. Confirm final requirements with the print provider.
| Artwork situation | What to check | Practical next step |
|---|---|---|
| Small close-viewed image | Effective PPI at final size | Use a suitable original; ask the printer for its target |
| Large-format graphic | Viewing distance and final dimensions | Confirm acceptable resolution for the output process |
| Logo or simple line art | Whether the source is vector | Use vector artwork when available |
| Image enlarged in layout | Pixel dimensions after scaling | Request a larger original if detail looks soft |
| Mixed page of images | Lowest effective PPI per placed image | Run preflight and review low-resolution flags |
CONTINUE THE PRINT PLAN
Make the next print decision with a clear brief.
Before exporting, share the finished size and the printer’s PDF requirements with the designer. Send a print enquiry to Sarkar Printer if you want the artwork handoff reviewed.
Frequently asked questions
What is the best DPI for print?
There is no single DPI setting for every job. Check image PPI at final size and ask the print provider for output requirements; process and viewing distance matter.
Is DPI the same as PPI?
No. PPI describes pixels per inch in a raster image. DPI describes the dots an output device can address. They relate but describe different things.
Is 300 PPI always required?
No. Around 300 PPI at final size is a common starting point for close-viewed images, but large-format work and different output processes may use other targets.
Can I improve a low-resolution image by enlarging it?
Upsampling can create additional pixel values, but it cannot restore original detail that the source never contained. Use a larger original or change the placement.