
Set up a visiting card with the right finished size, bleed, safe area and export checks before sending artwork to print. Maintain exact brand palette fidelity across reorders by cross-referencing Pantone color standards and exporting press files to Adobe InDesign print-ready PDF specifications.
Start with the finished visiting card size
The finished size is the card after trimming. A widely used India format is about 89 × 51 mm (3.5 × 2 inches), but a product template can define a slightly different trim. Confirm the selected printer’s specification before laying out the file.
Keep the finished dimensions separate from the artwork dimensions. A file that includes bleed is larger than the card you will hold. If the design is square, mini, folded or otherwise custom, request the matching template instead of resizing a standard file.
Add bleed and protect the safe area
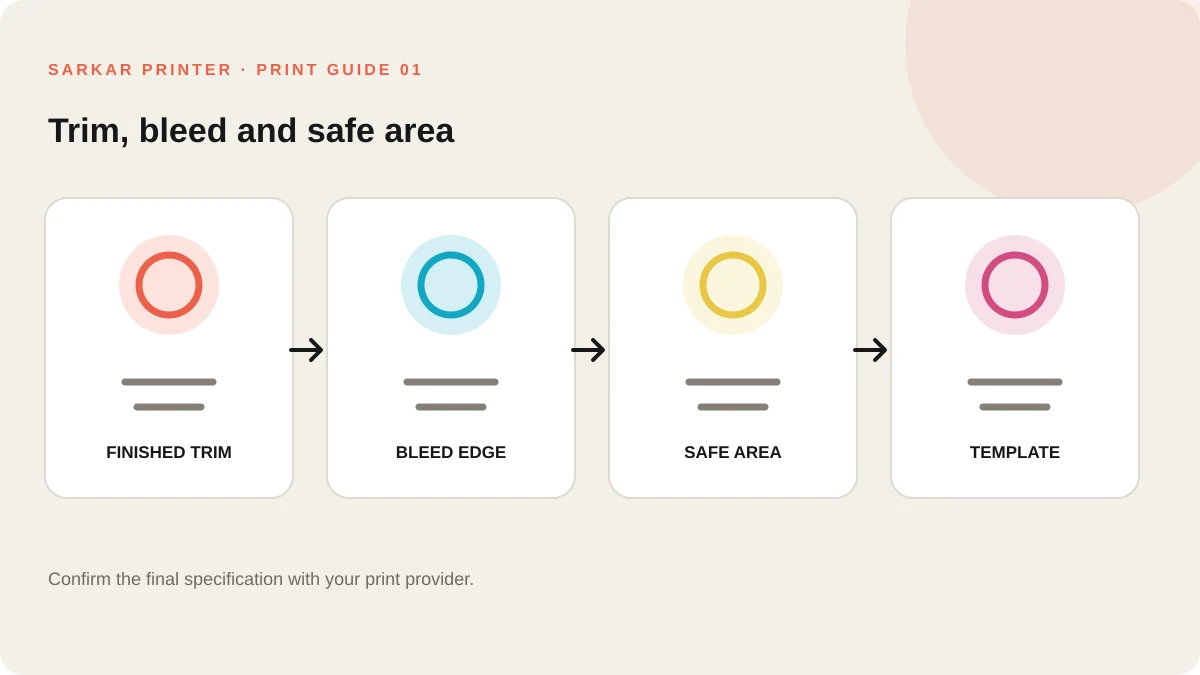
Bleed carries a background colour or photograph beyond the trim edge so small cutting shifts do not leave a white sliver. The safe area works in the opposite direction: it keeps names, phone numbers, logos and QR codes away from the cut.
A 3 mm bleed is a common starting point for many commercial print files, not a universal rule. Use the exact value on the printer’s template, and keep important details comfortably inside the trim.
| Area | What it means | Check before export |
|---|---|---|
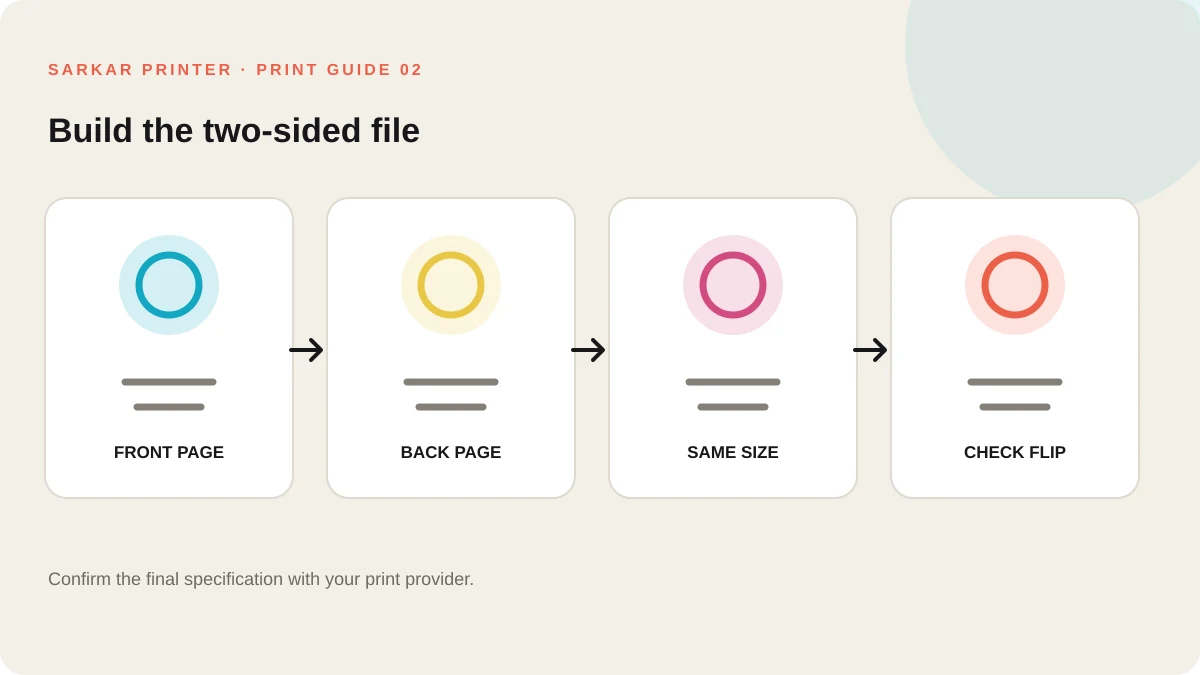
| Finished trim | The final size after cutting; 89 × 51 mm is a common India format. | Confirm the exact product size. |
| Bleed | Artwork continuing beyond the trim edge. | Use the supplied value; 3 mm is only a common starting point. |
| Safe area | The region inside trim reserved for essential content. | Keep names, numbers, logos and QR codes clear of the cut. |
| Image resolution | Pixel detail at final physical size. | Use high-resolution images; 300 ppi is a common target. |
Set up front and back as a matched pair
Create each side at the same finished dimensions and label the pages clearly. Check orientation before export: the reverse should read correctly when the card is turned over in the way the printer specifies.
Use a QR code only when it adds a useful next step. Give it clear space, preserve contrast, and test the printed proof with more than one phone. Do not place a code or small contact line close to the trim.
Export and proof the file before approval
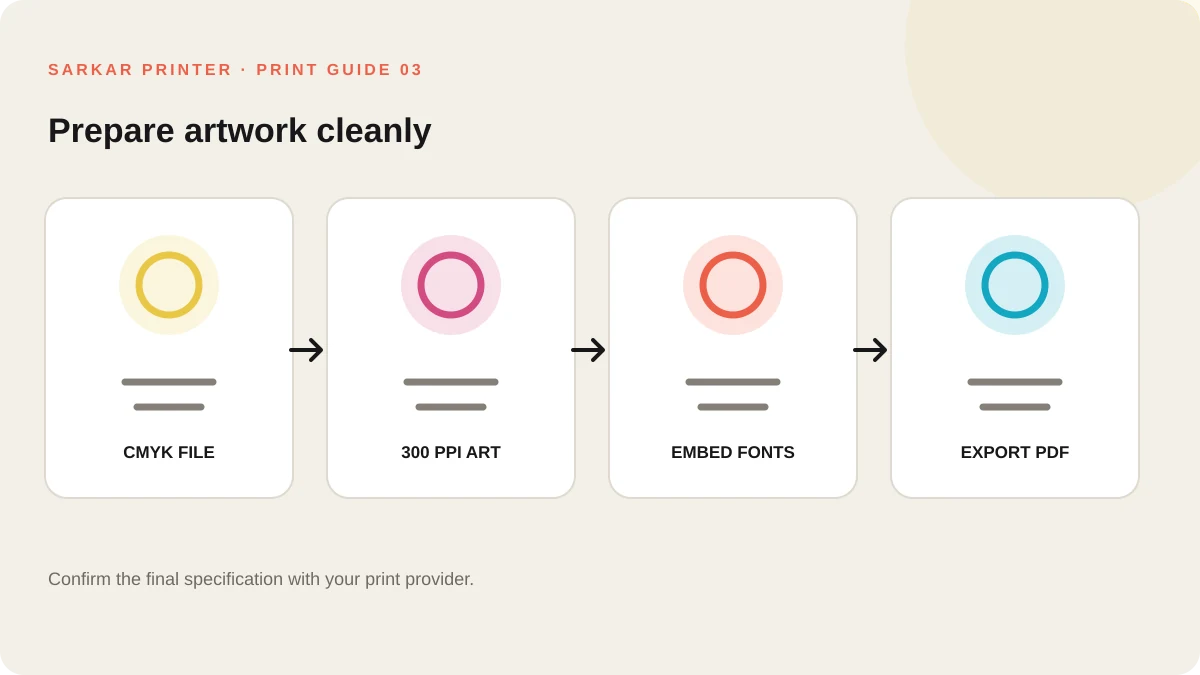
Use the requested colour mode and export preset. For raster artwork, 300 pixels per inch at the final print size is a common production target; vector logos and type stay sharp when exported correctly. Embed or outline fonts only as the printer requests.
Review the PDF at actual size. Check spelling, numbers, email addresses, contrast, image sharpness, bleed and the reverse-side orientation. A screen preview helps catch layout errors, but it cannot perfectly predict ink, paper and finish.
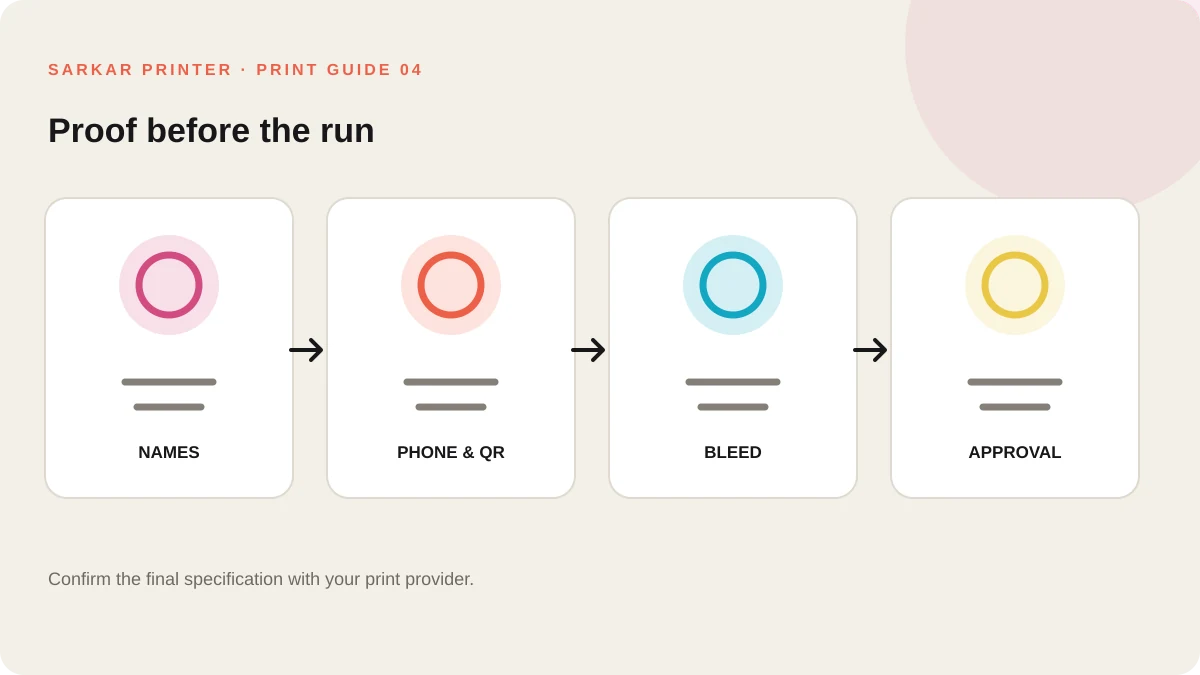
Print brief checklist
- Confirm the exact finished size and orientation.
- Keep front and back at the same dimensions.
- Use the printer’s bleed and colour specification.
- Proof every name, number, email and QR link.
For product-specific options, see Business and visiting card printing or send the team a print enquiry.
Frequently asked questions
What is a common visiting card size in India?
A commonly used format is about 89 × 51 mm (3.5 × 2 inches). Confirm the exact finished size with the printer because templates and product options can differ.
How much bleed should I add to a visiting card?
Use the bleed value in the printer’s template. Three millimetres is a common starting point for many commercial files, but the supplied specification takes priority.
Should I add crop marks to my card artwork?
Only add printer’s marks when the print provider requests them. Many workflows place marks during prepress and imposition.
What should I check on the visiting-card proof?
Check spelling, phone numbers, email addresses, QR readability, image sharpness, trim clearance and the orientation of both sides.