
Double sided business card design gives a business two surfaces, but each side still needs a clear job. Use the front to make the name and brand easy to recognise. Use the reverse for contact details, a service reminder or one next step. The layout should help a person find information quickly when they turn the card over.
Give each side a clear role
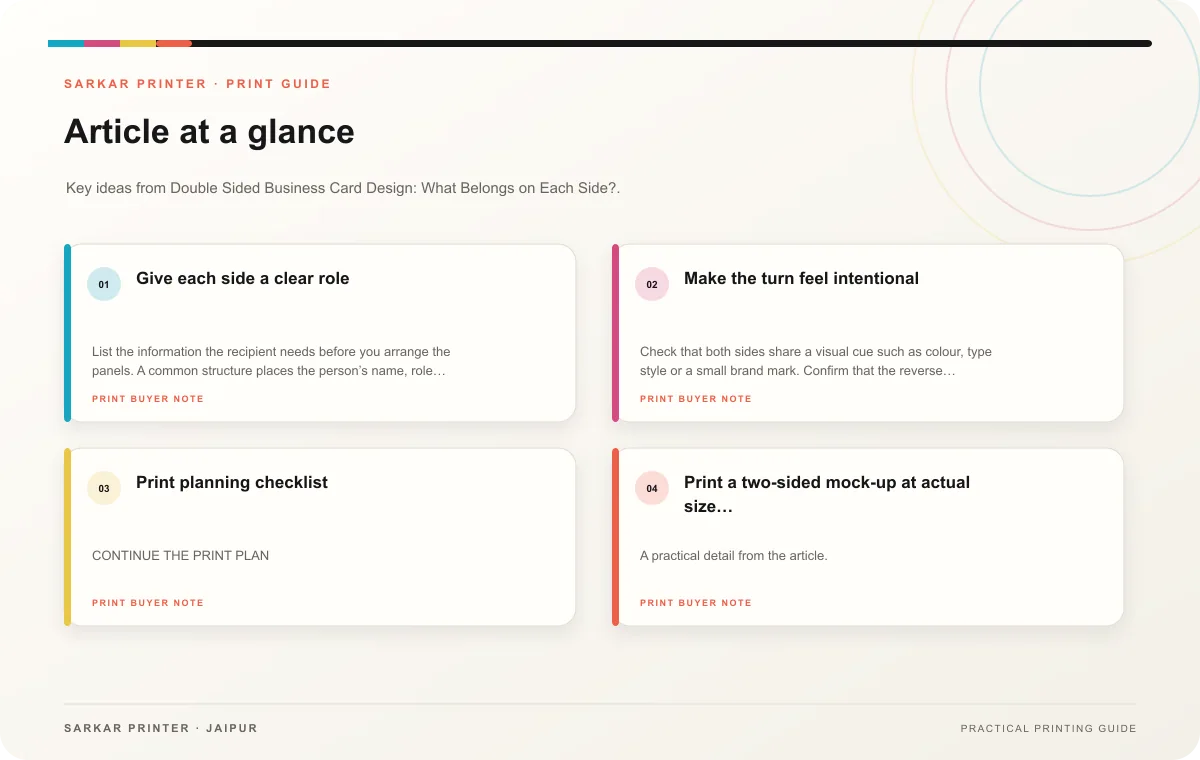
List the information the recipient needs before you arrange the panels. A common structure places the person’s name, role and brand mark on the front, then puts phone, email, website and location on the reverse. A service business can use the back for a short booking prompt, but keep the call to action specific and brief.
Leave enough open space for the important details. A card is small, so adding every social account, slogan and service can make the type hard to read. Group related contact details together and use a consistent order across every employee’s card.
Make the turn feel intentional
Check that both sides share a visual cue such as colour, type style or a small brand mark. Confirm that the reverse orientation matches the printer’s template; an upside-down back can make an otherwise polished card feel unfinished. If the artwork uses two languages, decide which side carries each version and check that the reader can identify the language at a glance.
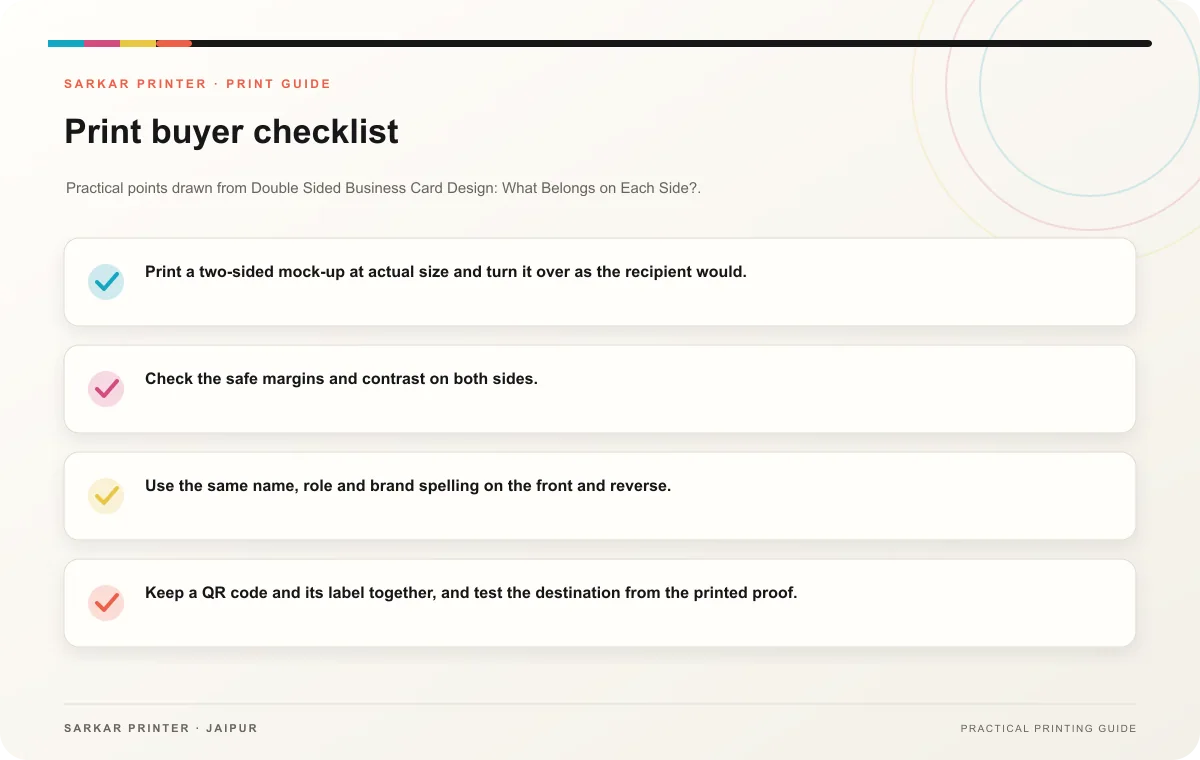
- Print a two-sided mock-up at actual size and turn it over as the recipient would.
- Check the safe margins and contrast on both sides.
- Use the same name, role and brand spelling on the front and reverse.
- Keep a QR code and its label together, and test the destination from the printed proof.
Print planning checklist
| Topic | Key point | Check before approval |
|---|---|---|
| Give each side a clear role | List the information the recipient needs before you arrange the panels. A common structure places the person’s name, role and brand mark on the front, then puts phone, email, website and… | Record the agreed choice in the approved print brief. |
| Make the turn feel intentional | Check that both sides share a visual cue such as colour, type style or a small brand mark. Confirm that the reverse orientation matches the printer’s template; an upside-down back can… | Record the agreed choice in the approved print brief. |
CONTINUE THE PRINT PLAN
Keep the next step useful.
Explore the service page or related drafts, then send the agreed brief to the print team.
Frequently asked questions
What belongs on the reverse of a business card?
Use it for contact details or one helpful next step. Choose information that supports the conversation instead of filling the panel because it is available.
Should I repeat the logo on both sides?
Repeat it only if it improves recognition or helps the reverse feel connected to the front. A small brand cue can work without taking space from useful information.
How do I check the back orientation?
Print both sides on a full-size proof, then turn the card in the same direction a recipient will use. Ask the printer to confirm how its template handles the reverse.