
A hang tag introduces a product while carrying the details a shopper may need at the point of sale. Custom hang tag printing works best when the brand message, care information and attachment method all fit the same small format.
Set the tag’s purpose
Decide whether the tag should tell a brand story, identify a product, show a price or communicate care information. If it needs to do several jobs, give each one a clear place. Use the front for the strongest cue and the reverse for secondary details if the format allows. Keep mandatory product information in the approved channel for the product category.
Confirm how the tag attaches: string, fastener, loop or another method. The attachment point affects the hole position and available design area. Ask the product team to provide a real sample or measurements so the finished tag does not cover a feature or become awkward to handle.
Make the details easy to scan
Use concise copy, readable type and a contrast that works under retail lighting. If the tag has a barcode or QR code, test the final size and clear area with the intended scanner or phone. Keep codes away from folds, holes and areas where the fastener may cover the code.
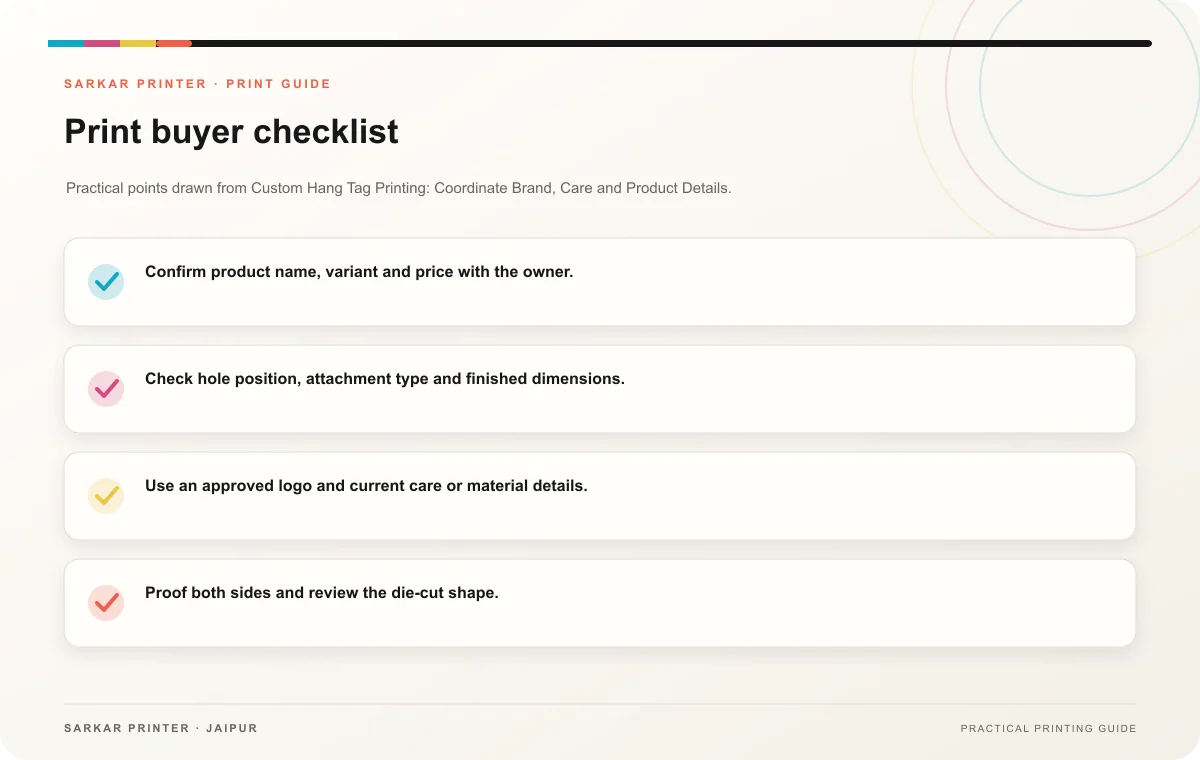
- Confirm product name, variant and price with the owner.
- Check hole position, attachment type and finished dimensions.
- Use an approved logo and current care or material details.
- Proof both sides and review the die-cut shape.
- Request a sample attached to the actual product.
Prepare the print specification
Tell the printer the size, shape, quantity, paper, finish, hole position and attachment requirements. Provide the approved dieline and a clear artwork file. If the tag changes by product, label each version and send a count for every variant.
Print planning checklist
| Topic | Key point | Check before approval |
|---|---|---|
| Set the tag’s purpose | Decide whether the tag should tell a brand story, identify a product, show a price or communicate care information. If it needs to do several jobs, give each one a clear place. Use the… | Record the audience and main message in the print brief. |
| Make the details easy to scan | Use concise copy, readable type and a contrast that works under retail lighting. If the tag has a barcode or QR code, test the final size and clear area with the intended scanner or… | Record the agreed choice in the approved print brief. |
| Prepare the print specification | Tell the printer the size, shape, quantity, paper, finish, hole position and attachment requirements. Provide the approved dieline and a clear artwork file. If the tag changes by… | Record the agreed choice in the approved print brief. |
CONTINUE THE PRINT PLAN
Keep the next step useful.
Explore the service page or related drafts, then send the agreed brief to the print team.
Frequently asked questions
What details belong on a hang tag?
Include the details that help identify, understand or purchase the product. Confirm regulated information with the responsible product owner.
Should a tag have one or two printed sides?
Use the second side when it adds meaningful information or makes the front easier to scan.
How can we avoid tags that do not fit?
Check the hole, fastening and finished size on a real product sample before approving a full run.