
Design a tailor bill book around customer details, garment measurements, fitting notes and delivery dates. Use this practical print checklist for a clearer order record. For commercial billing and audit compliance, ensure book serial numbering and tax headers align with statutory CBIC GST invoice rules.
Design for the counter conversation
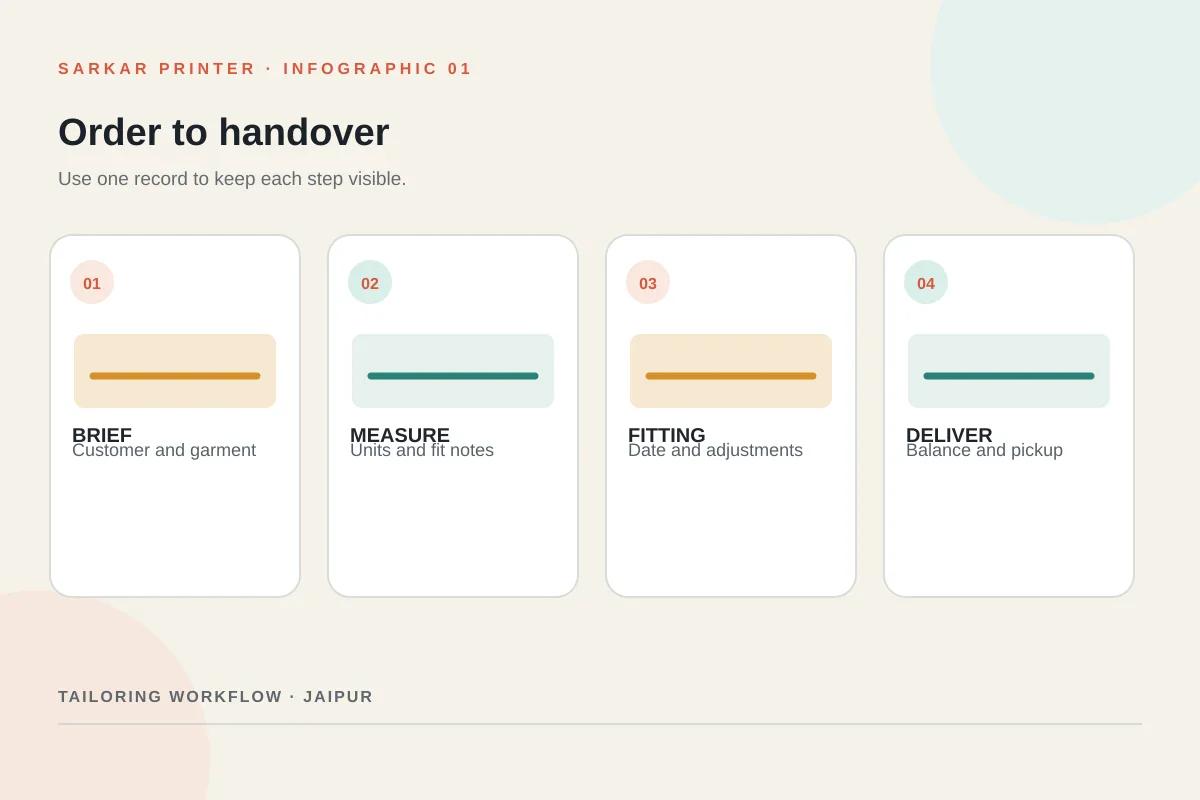
A tailoring order begins with a short conversation: who the garment is for, what they want made, when they need it and how the team will confirm the fit. A bill book should help staff capture those details in a repeatable order.
Use a clear customer block, then label the garment and work type. If a customer orders more than one piece, give each garment its own row or measurement panel. Avoid placing measurements in a cramped general notes box.
Give measurements a dedicated panel
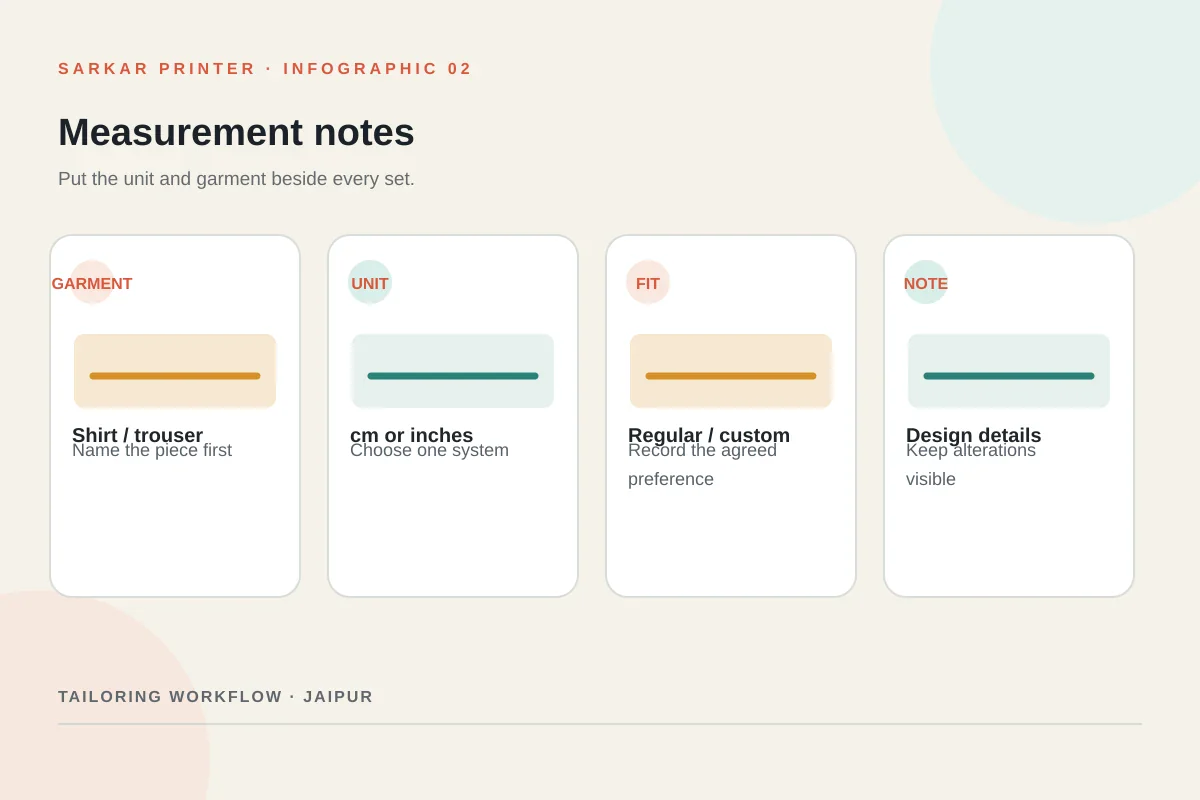
Choose a measurement list that reflects the garments your shop makes. A shirt, trousers and blouse do not use the same points, so a single universal chart may confuse the person taking the order. Keep the garment type beside the measurements and leave a space for a design or fit note.
Print the unit clearly, such as centimetres or inches, and ask staff to use it consistently. Use paired labels or a small body-outline reference only if it helps your team; never rely on a diagram without written labels.
Record fitting changes without losing the original
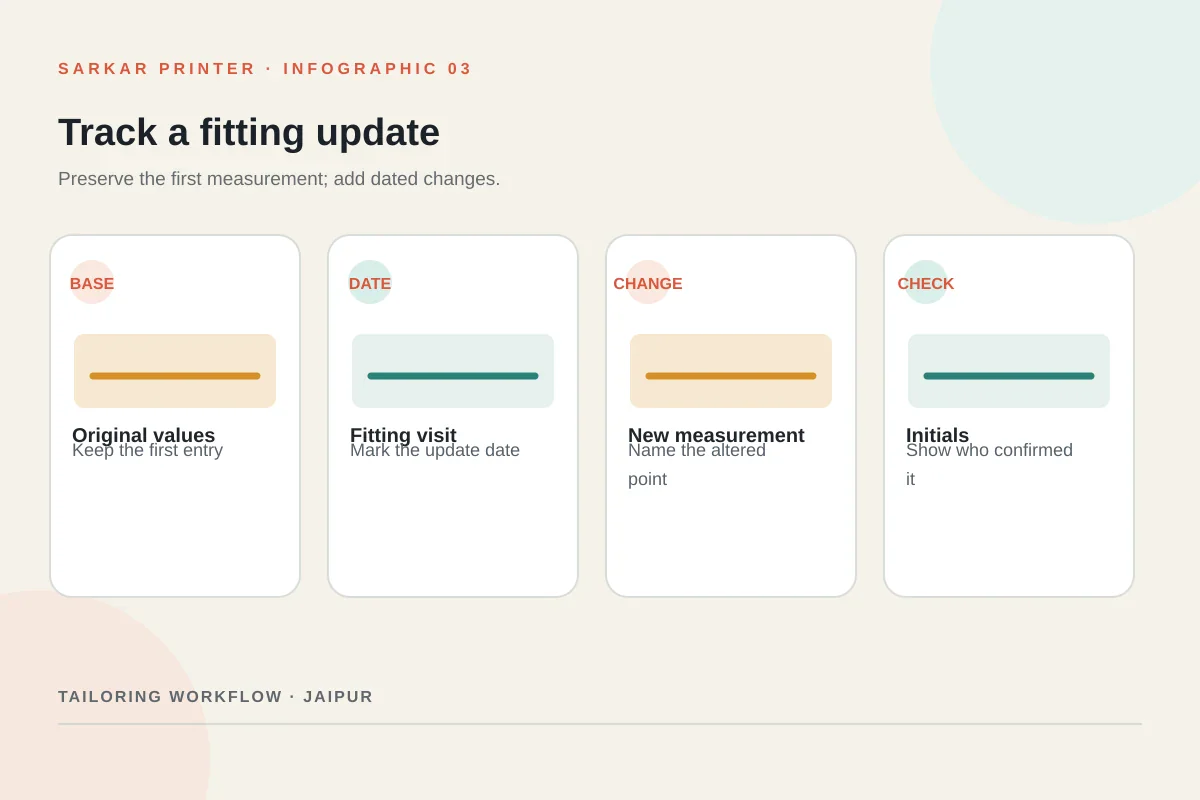
Leave a dated fitting-note area so a tailor can record agreed changes after the first trial. Keep the original measurement entry visible and write adjustments separately. This helps the team see what changed and which version they should follow.
Use short labels such as “sleeve length” or “waist adjustment,” followed by the new value and initials. The page should make it easy to distinguish a requested change from the original measurement.
Keep order, payment and delivery details clear
Use separate boxes for advance, remaining balance and delivery date if your process tracks them. Label each amount and date rather than asking staff to interpret an unlabelled blank. Leave a customer sign-off or pickup field only if the shop uses it.
Printed forms should collect only information needed to complete the order. Keep sensitive personal details off the sheet unless the business truly needs them and can handle the records appropriately.
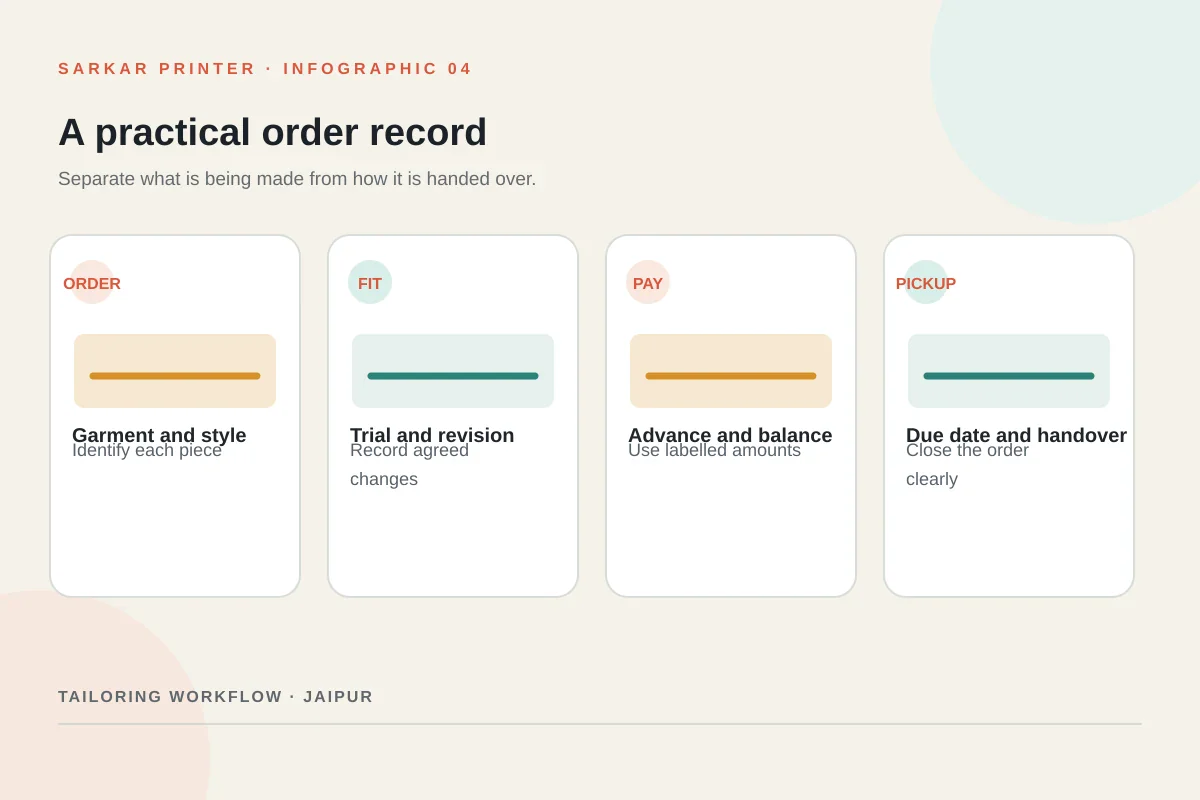
Tailor bill book print planning table
Share the following decisions with your designer or printer. Use one sample order to check the page before approving the full run.
| Section | Example fields | Check before print |
|---|---|---|
| Customer | Name, phone or order reference | Keep the writing line long enough. |
| Garment | Piece type, style, fabric note | Give each piece a distinct entry. |
| Measurements | Named points and unit | Use a consistent unit and labels. |
| Fitting | Trial date, changes, initials | Separate updates from original values. |
| Handover | Due date, pickup note, balance | Include only fields staff uses. |
Related Sarkar Printer pages
Frequently asked questions
What should a tailor bill book record?
Record the customer or order reference, garment type, measurements with a clear unit, agreed style notes, fitting changes and expected handover details.
Should every garment use the same measurement chart?
Not necessarily. Use a labelled panel suited to each garment type, or separate order lines when one customer orders different pieces.
How can a tailor avoid measurement confusion?
Print the unit on the page, name each measurement, keep original values separate from fitting changes and mark updates with a date.
Can a tailor bill book include payment fields?
Yes, if the shop uses them. Label advance, balance or payment status clearly and confirm the fields fit the shop’s record process.