
Plan a simple bill book format with clear business details, numbered entries, readable item rows and totals. Use this checklist before sending artwork to print. For commercial billing and audit compliance, ensure book serial numbering and tax headers align with statutory CBIC GST invoice rules.
Start with the way you bill
Choose the format around the work your team records. A repair shop, wholesaler and home service business may need different rows. List the information your staff writes on every bill, then place the frequent details where people can find them quickly.
Keep a bill book distinct from a receipt or internal stock log when the records serve different purposes. A printed form should make the transaction easy to record and review; it should not force staff to write the same information twice.
Fields that make each entry easier to read
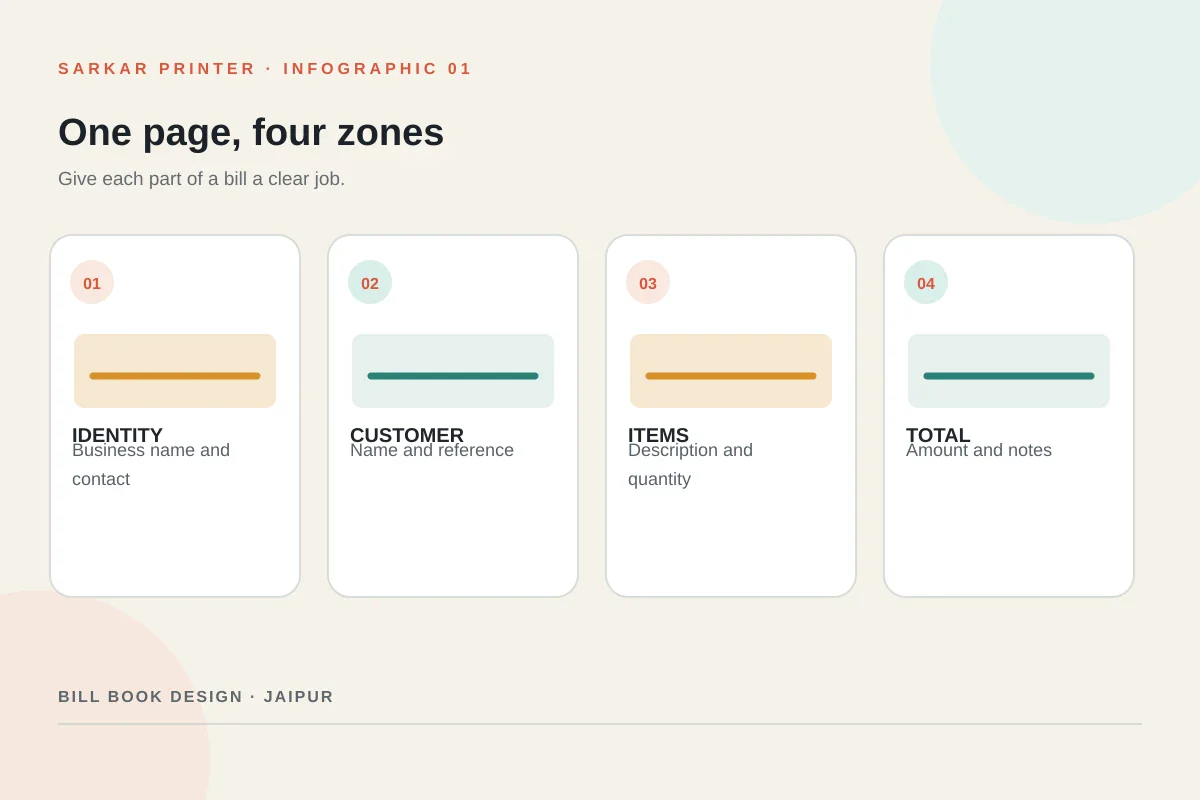
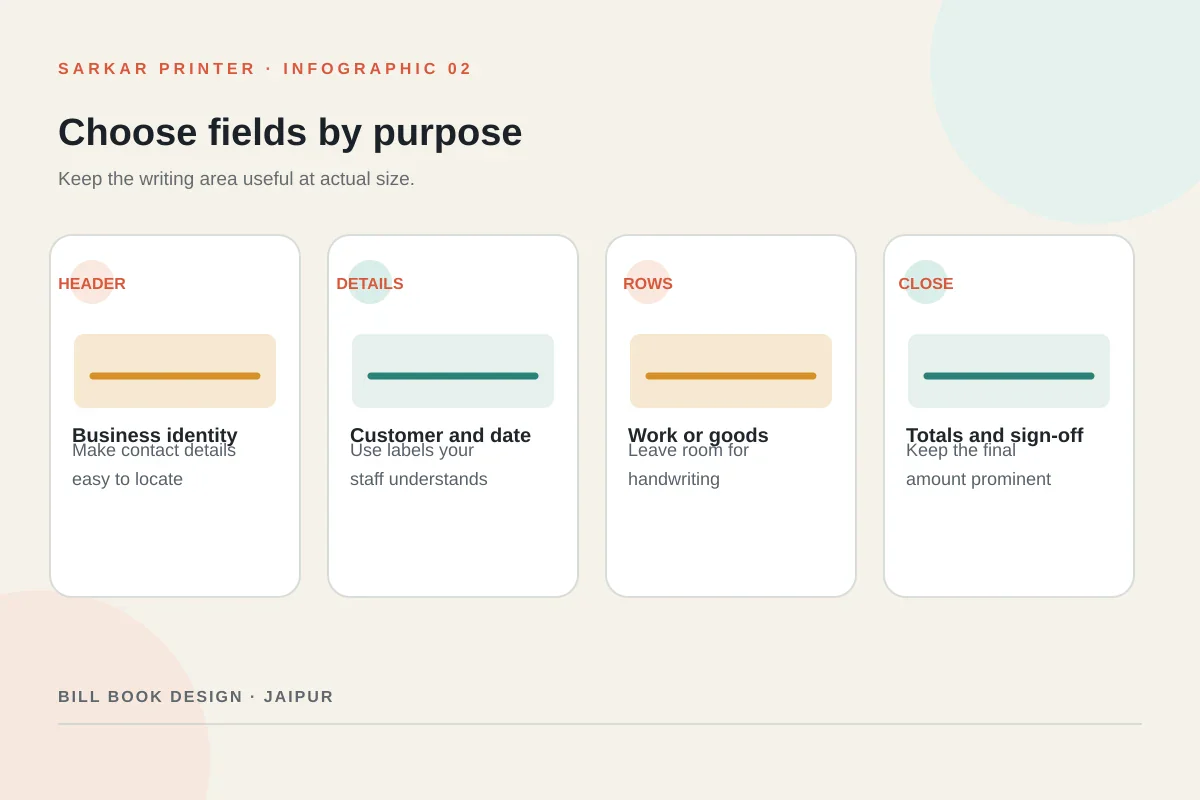
Start with the business name, address and a contact route. Add a preprinted serial number and date area so staff can identify an entry later. The customer block can hold a name and the reference details your team actually uses.
Use the main table for item or service description, quantity, rate and amount. Add tax or payment fields only when they fit your workflow; confirm any formal invoice wording with your accountant. Leave enough writing space for the longest ordinary description rather than squeezing in more columns.
Plan copies, numbering and page flow
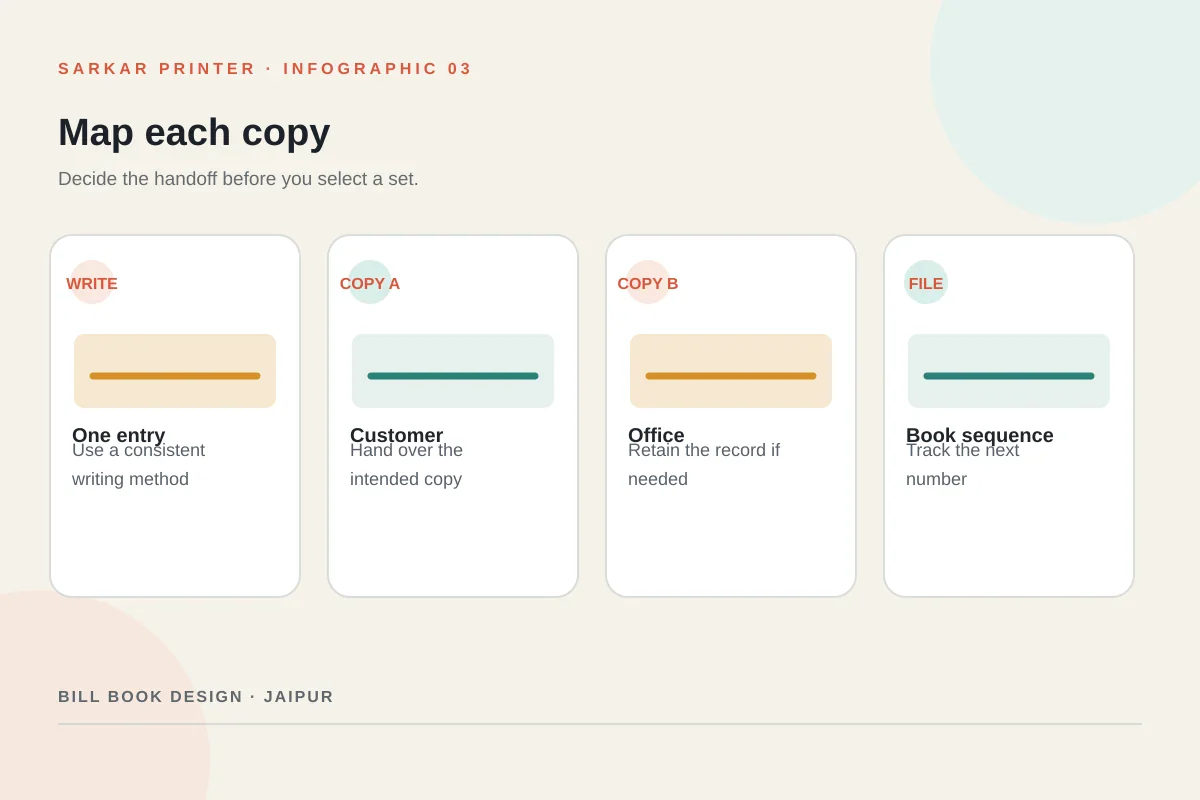
Decide who needs a copy after the transaction. One retained copy may be enough for a simple workflow; a customer copy plus an office copy may call for a duplicate set. If several teams need a record, map the route before selecting a multi-part format. The number of parts should solve a real handoff.
Ask the printer how the chosen paper and binding will transfer writing and whether the number continues across books. Check that the serial sequence, tear-out edge and any retained stub match how your team files records.
Review the proof before the full run
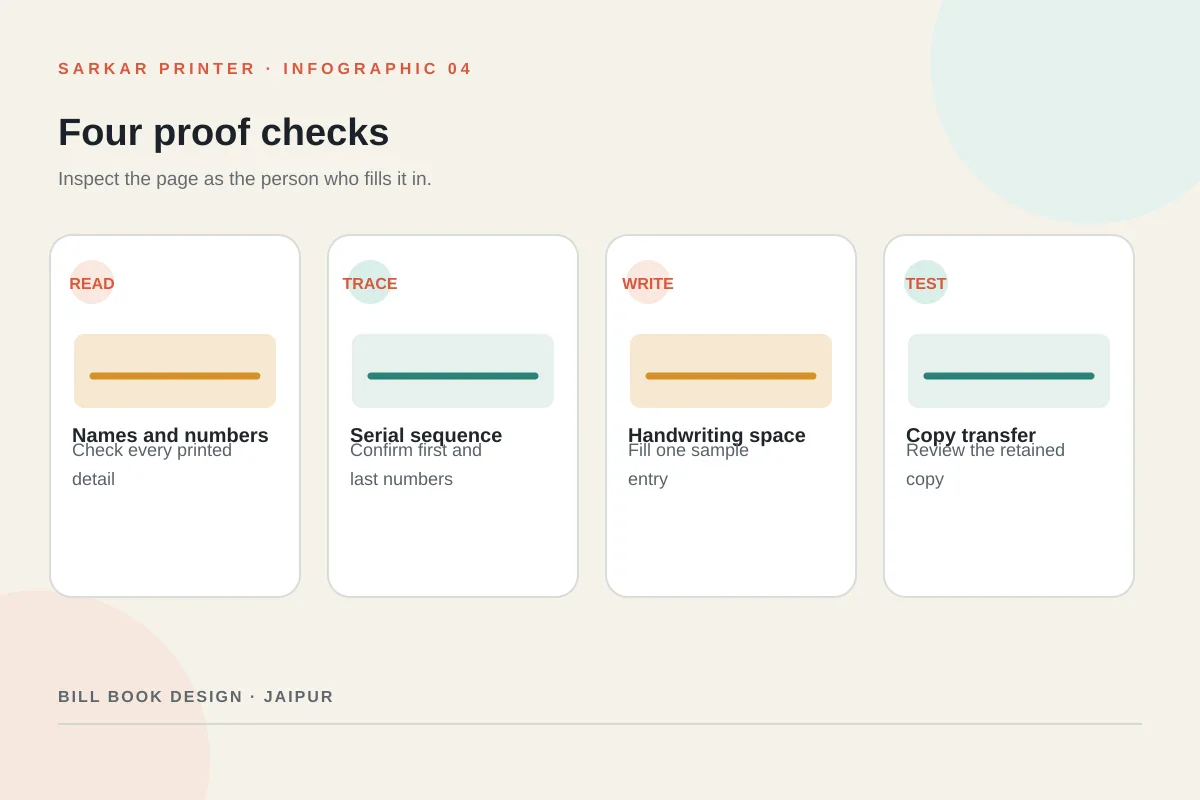
Check a printed or digital proof at the final size. Read the business name, phone number, address, labels and every preprinted value. Confirm that the page number, writing rows and total area remain clear after trimming and binding.
Ask a team member to fill a sample bill using an ordinary pen. This practical test can reveal tight rows, confusing labels or a total box that feels too small. Correct the master artwork before approving a larger batch.
Simple bill book planning table
Use this table to brief a designer or printer. Replace each example with the fields your business needs, and remove anything your team never records.
| Area | Possible fields | Planning note |
|---|---|---|
| Business | Name, address, phone | Use the approved spelling and contact details. |
| Reference | Serial number, date, customer | Keep the sequence readable and consistent. |
| Transaction | Description, quantity, rate, amount | Allow room for the entries staff actually writes. |
| Close | Total, payment note, signature | Include only fields that match your process. |
Related Sarkar Printer pages
Frequently asked questions
What should a simple bill book include?
Include the business identity, a date and serial number, customer details if needed, item or service rows, and a clear total area. Add other fields only when your workflow uses them.
Should I print a tax field on every bill book?
The layout depends on how your business issues documents. Ask your accountant to confirm formal invoice fields and wording before you print.
How much writing space should each row have?
Test the design using a typical transaction and the pen your team uses. Size rows for ordinary handwriting, not only for the shortest item name.
How do I check a bill book proof?
Verify names, contact details, sequence, labels, page size and writing space. Fill one sample page and inspect every retained copy.