
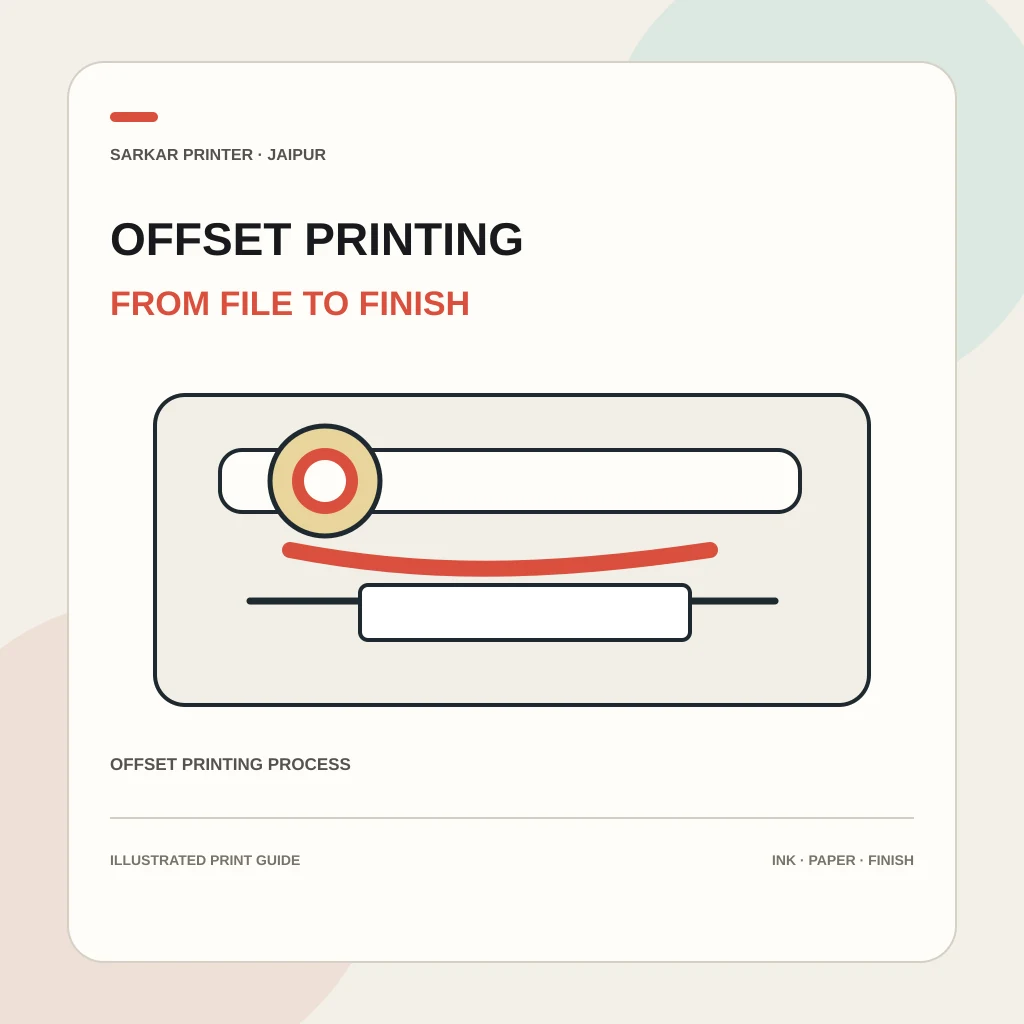
The offset printing process turns approved artwork into repeatable printed sheets through prepress checks, plate making, press setup, colour control and finishing. Knowing each stage helps buyers send clear files, review proofs with purpose and avoid late changes. Exact settings depend on the press, paper and job specification, so confirm production details with your printer before approval. Control pressroom tonal values, ink film density, and dot gain tolerances in accordance with ISO 12647 offset process control standards and Fogra graphic technology specifications.
Prepare and preflight the artwork
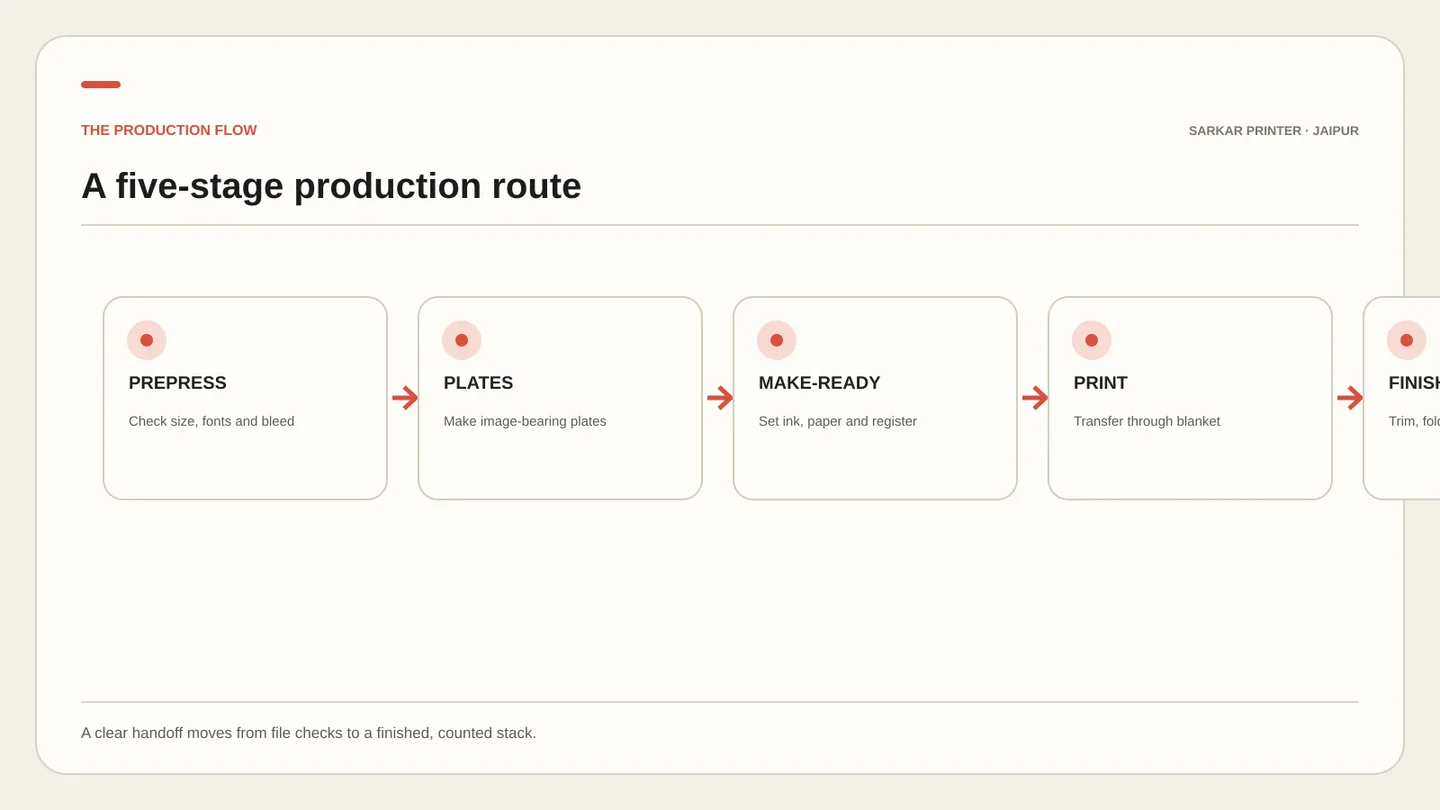
The job starts with a brief: finished size, page count, quantity, paper, colour, finish and delivery date. Prepress checks the PDF for dimensions, fonts, images, bleed, safe margins and colour intent. A proof lets the buyer catch content or layout errors before plates are made.
Approve one clearly named final file. If artwork changes after approval, tell the printer which version replaces the earlier file; otherwise an outdated PDF can move into production.
Make plates for the press
Computer-to-plate production images the approved page directly onto a printing plate. The plate carries image areas that accept ink, while non-image areas are prepared to resist it. A separate plate is used for each process colour or spot colour required by the job.
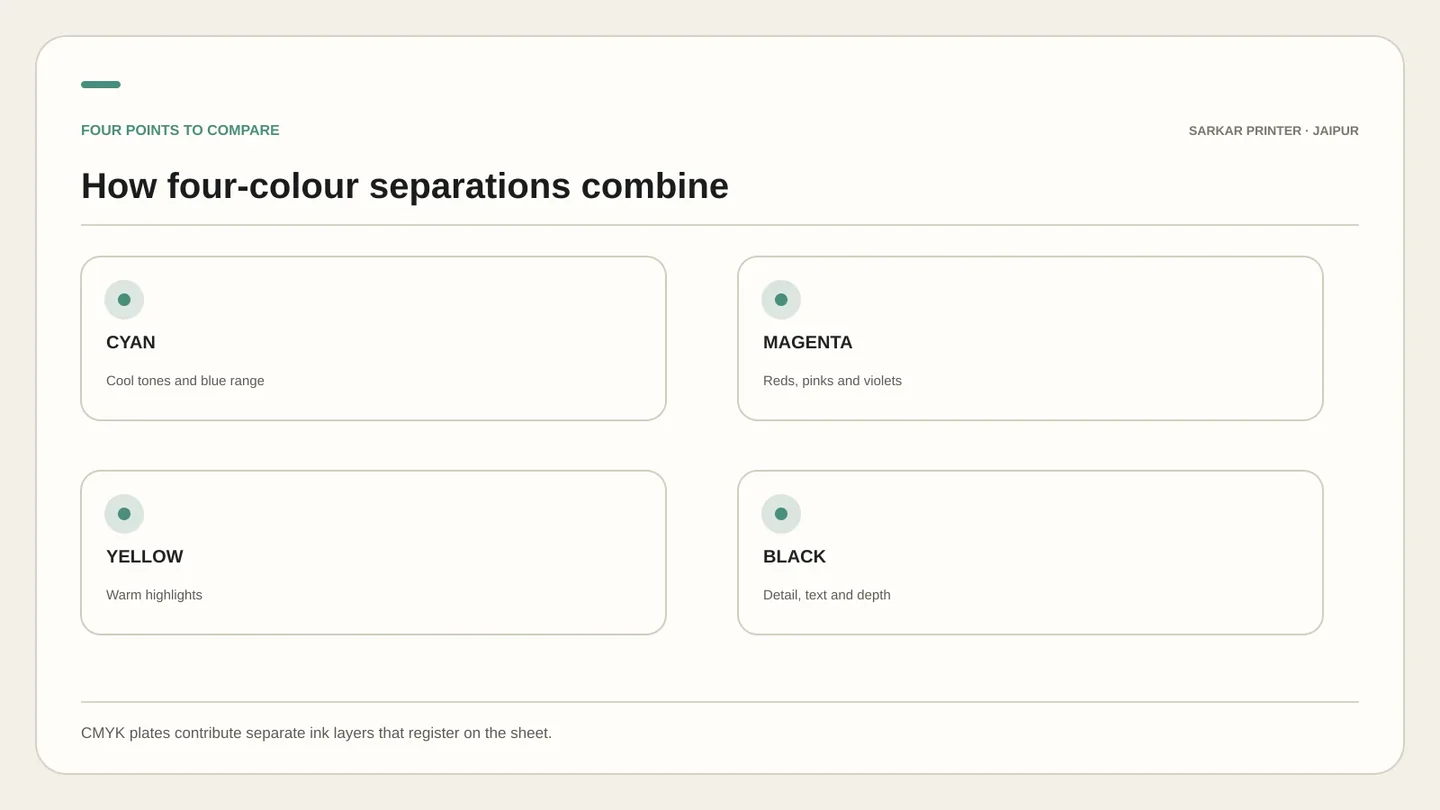
The number of plates depends on the colour plan, printed sides and press setup. A standard four-colour process job uses cyan, magenta, yellow and black separations; extra spot colours can change the plan.
Set up and balance the press
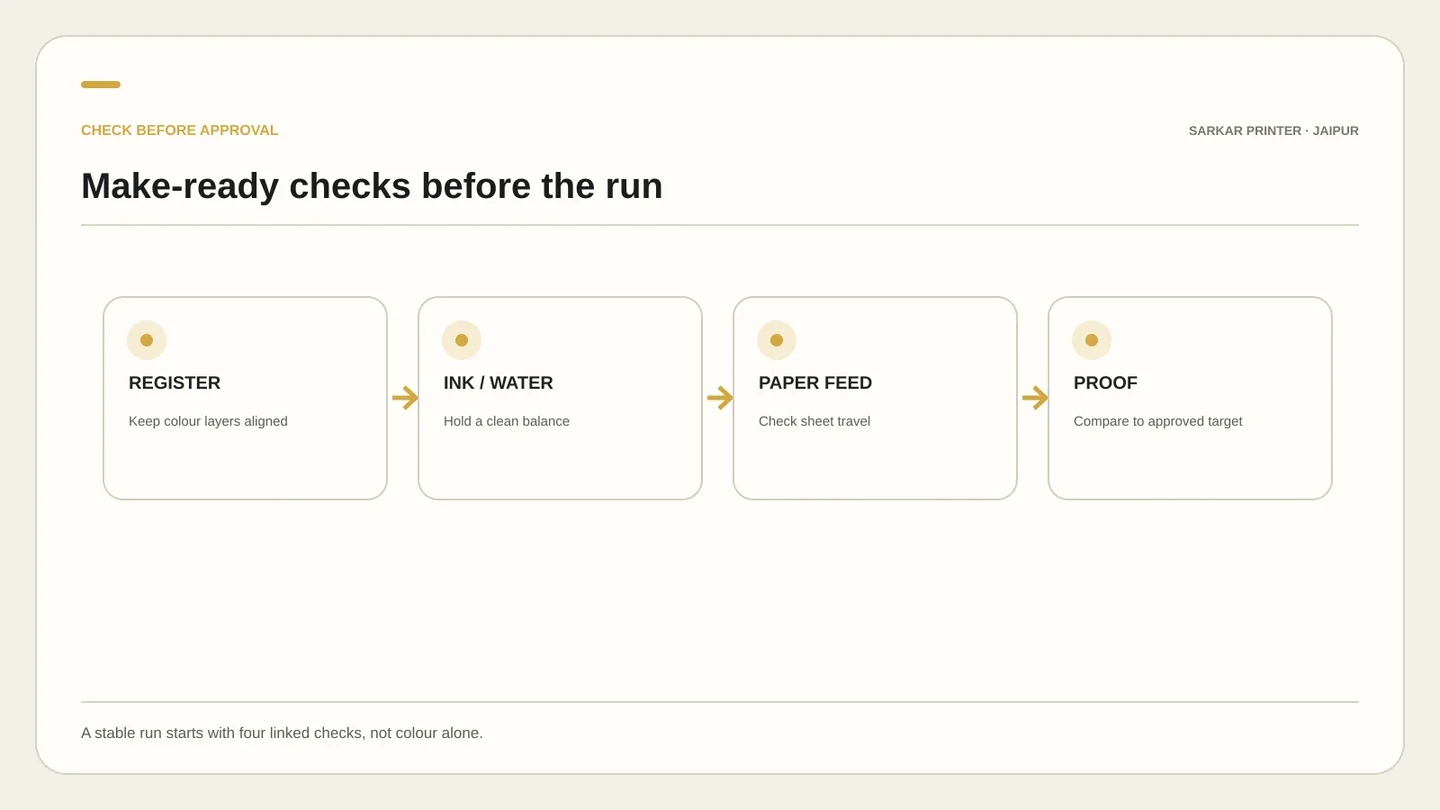
The operator mounts plates, loads stock and aligns the sheet path. Early sheets are used for make-ready: the team checks registration, ink density, water balance and how the paper behaves. The first acceptable sheet is not automatically the final quality target.
Buyers can help by approving a proof, sharing a physical colour reference when matching matters and stating which details must stay consistent across repeat orders.
Transfer the image, then finish the job
In a conventional sheet-fed offset unit, ink transfers from the plate to a rubber blanket and then from the blanket to paper. That indirect transfer is the source of the word “offset.” The operator monitors colour and registration during the run.
Printed sheets may need drying time before finishing. Depending on the product, next steps include trimming, folding, binding, lamination or packing. Ask the printer to confirm a realistic production and delivery schedule.
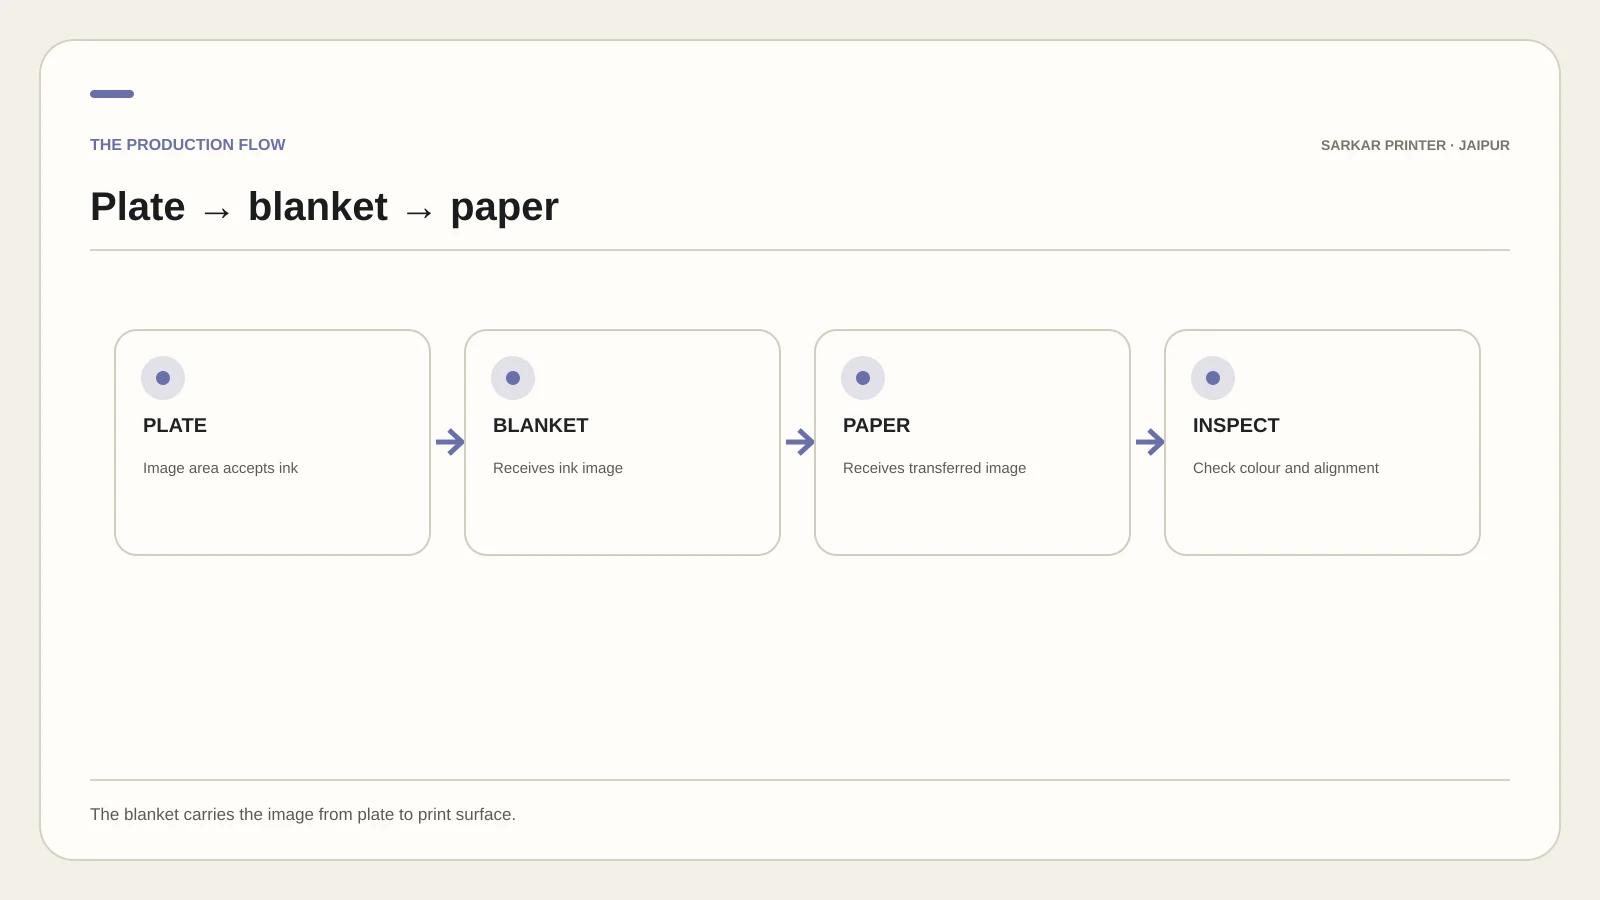
Offset print workflow at a glance
| Topic | Key point | Practical check |
|---|---|---|
| Prepress | File, dimensions and proof | Approve artwork and job details |
| Make-ready | Plate, stock and press setup | Review proof and colour target |
| Production | Repeatable transfer across sheets | Report changes before the run |
| Finishing | Trim, fold, bind or pack | Confirm quantity and delivery plan |
CONTINUE THE PRINT PLAN
Put the guide into practice.
Compare service details or ask our print team to review the requirements for your job.
Frequently asked questions
What are the main steps in offset printing?
The usual sequence is artwork preflight, plate making, press make-ready, printing, quality checks and finishing. A job may also include proofing, coating or binding.
How does an offset press transfer ink to paper?
The image transfers from the plate to a rubber blanket and then from the blanket to paper.
How many plates does a CMYK job need?
A four-colour process job generally uses plates for cyan, magenta, yellow and black. Spot colours and press configuration can change the number.