
A2 is an ISO A-series paper size measuring 420 × 594 mm (ISO 216 standard preview). That is the trimmed page size; the artwork file may need extra space for bleed, depending on the printer’s requirements. Confirm portrait or landscape orientation and the final trim before laying out the poster.
Confirm the finished A2 dimensions
Measure the display space and decide how far away people will stand. A2 can suit a wall notice, event display or retail poster, but the right format depends on the location and how much information the poster carries. Keep the main headline and essential details easy to read at the expected distance.
The ISO A-series dimensions are designed to keep the same proportions between adjacent sizes. For a confirmed A2 production size, check the provider’s order template and use its file instructions rather than relying on a generic page preset.
Set image resolution for the final size
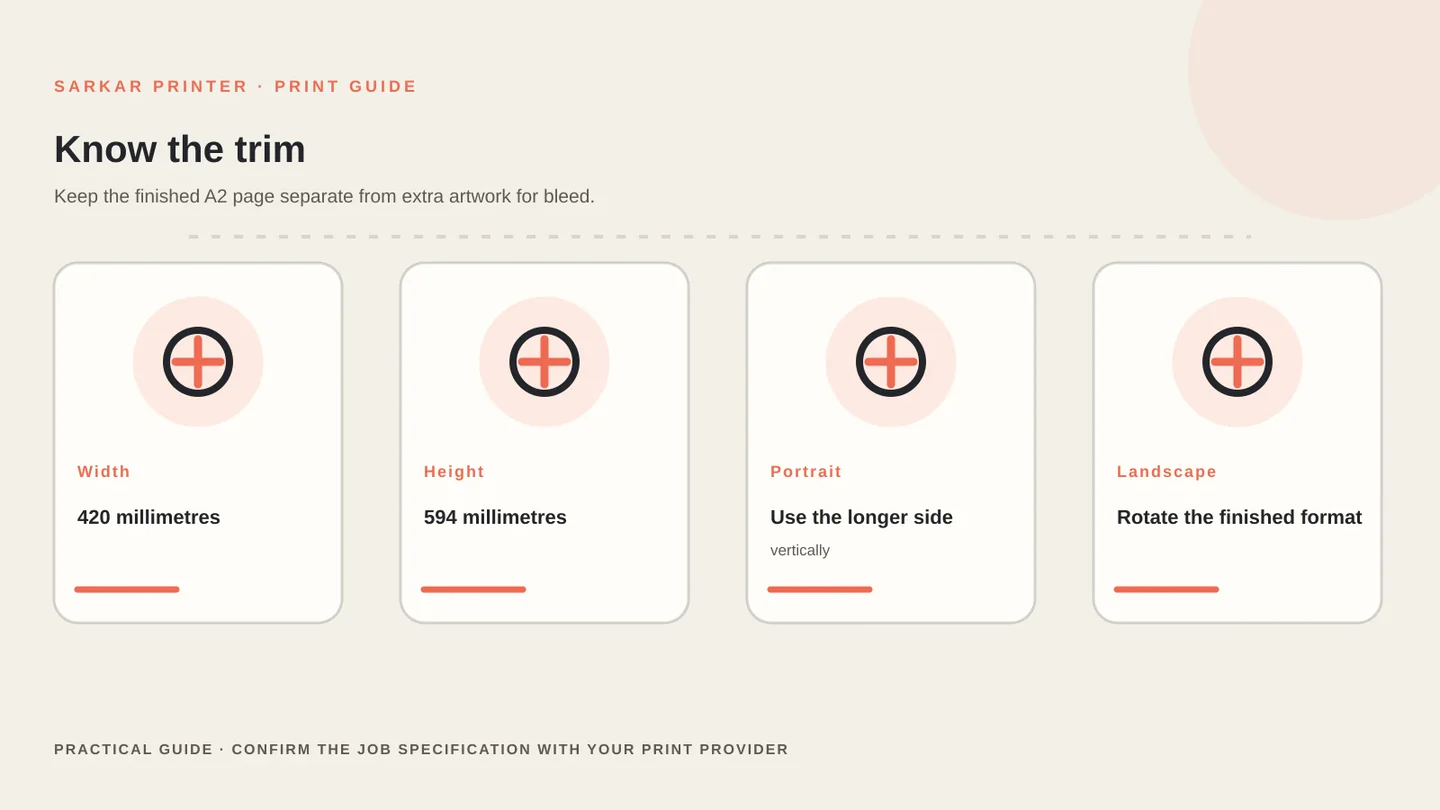
For a raster image placed at the full A2 size, 300 pixels per inch works out to approximately 4,961 × 7,016 pixels in portrait orientation. This is a calculation from the finished dimensions; it does not mean every image in the layout must use that pixel size.
Resolution depends on how large each image appears and how far away a viewer will stand. Adobe’s print resolution guidance describes 300 ppi as ideal for smaller prints viewed closely, while large-format work viewed from a distance can use lower resolution. Ask the print provider what resolution suits its process and the intended display.
Use vector files for logos, icons and line drawings where possible. Avoid enlarging a small image just to make its pixel count look bigger; upscaling cannot recreate missing detail. Check each image at its actual placed size in the artwork.
Set bleed and keep important content safe
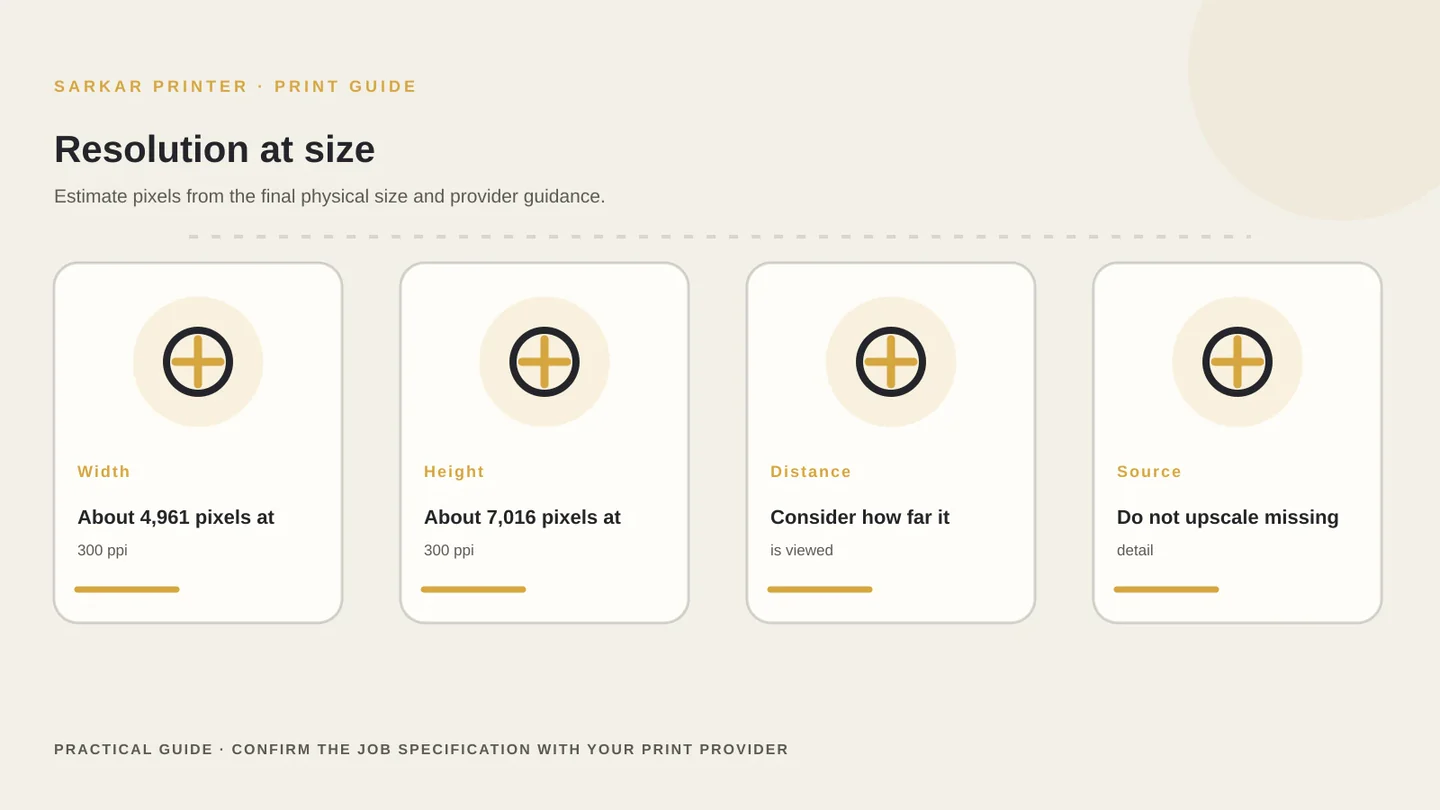
Bleed is extra artwork beyond the trim edge that allows a background or image to reach the edge after cutting. The amount varies by provider and production setup, so use the exact bleed in the supplier’s template instead of applying a universal value.
Keep headlines, dates, prices, QR codes and logos inside the safe area. Avoid placing fine text close to the trim, and leave enough space around marks that need to be scanned or read. If the poster will be mounted or framed, check whether a visible border or covered edge changes the layout.
Name the finished size, orientation and bleed in your file handoff. Export the PDF to the specification the printer requests, and ask whether crop marks should be included. A correct template helps the production team distinguish the trim size from the full artwork size.
Proof the poster at the intended viewing distance
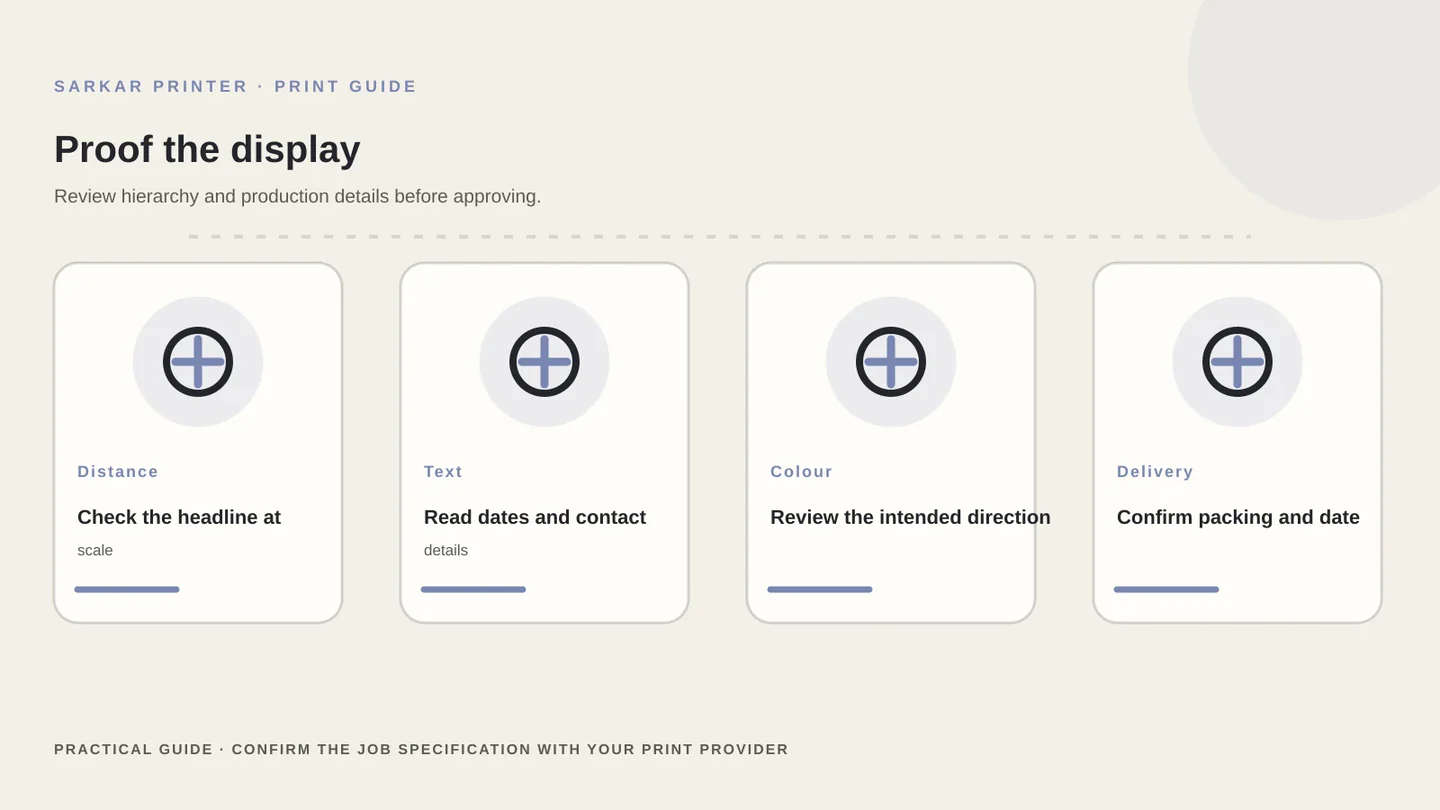
Review the proof at the final poster size or use a scaled printout to judge hierarchy. Check that the headline remains prominent, the most important details are readable and supporting copy does not compete with the main message.
Verify the printed details: dates, venue, phone numbers, URLs, QR codes, image crop, orientation and colour direction. A screen preview can help catch layout errors, but the final appearance can vary with paper and lighting.
Ask the print shop to confirm the stock, finish, quantity, packing and delivery date in writing. Our poster print shop checklist helps compare suppliers; for a local project, see the poster printing service or send the A2 brief to our team.
A2 poster artwork setup
Use this checklist to prepare an A2 file; confirm the printer-specific settings before exporting.
| Check | A2 planning value | Confirm with the printer |
|---|---|---|
| Finished trim | 420 × 594 mm | Portrait or landscape orientation |
| 300 ppi raster canvas | About 4,961 × 7,016 px at full size | Resolution needed for image elements and viewing distance |
| Bleed | Provider-specific; do not guess | Exact bleed and whether crop marks are wanted |
| Safe area | Keep essential content inside the trim | Template margins for text, logos and QR codes |
| Colour and PDF | Follow the supplied artwork instructions | Colour profile, PDF standard and embedded fonts |
| Proof | Review final-size hierarchy and details | Proof format, revision scope and approval contact |
CONTINUE THE PRINT PLAN
Make the next print decision with a clear brief.
Compare suppliers with the poster print shop checklist, view poster printing in Jaipur, or send us your A2 artwork brief.
Frequently asked questions
What are the dimensions of an A2 poster?
A2 measures 420 × 594 mm before any extra bleed. Confirm the orientation and final trim size with the print provider.
How many pixels should an A2 poster have at 300 ppi?
At full size, the calculation is approximately 4,961 × 7,016 pixels in portrait orientation. Resolution needs vary with viewing distance and the printer’s process.
How much bleed should I add to A2 artwork?
Use the amount specified by the print provider. Bleed requirements vary by production setup, so a supplier’s template is more reliable than a generic measurement.
Can I use a lower resolution for a large poster?
Sometimes. The appropriate resolution depends on image size, viewing distance and the print method. Adobe notes that large-format work viewed from farther away can use lower resolution than close-viewed prints.