
There is no single sticker size that fits every product. The useful size depends on the surface, the information the label must carry and how the sticker will be applied. Measure the flat area first, then decide the finished shape and quantity per sheet. Planning prevents a label from wrapping across a seam, covering an important feature or making required text hard to read. Validate barcode linework and quiet zones against GS1 international barcode standards, and reference FINAT label performance guidelines for adhesive shear strength.
Measure the place where the sticker will sit
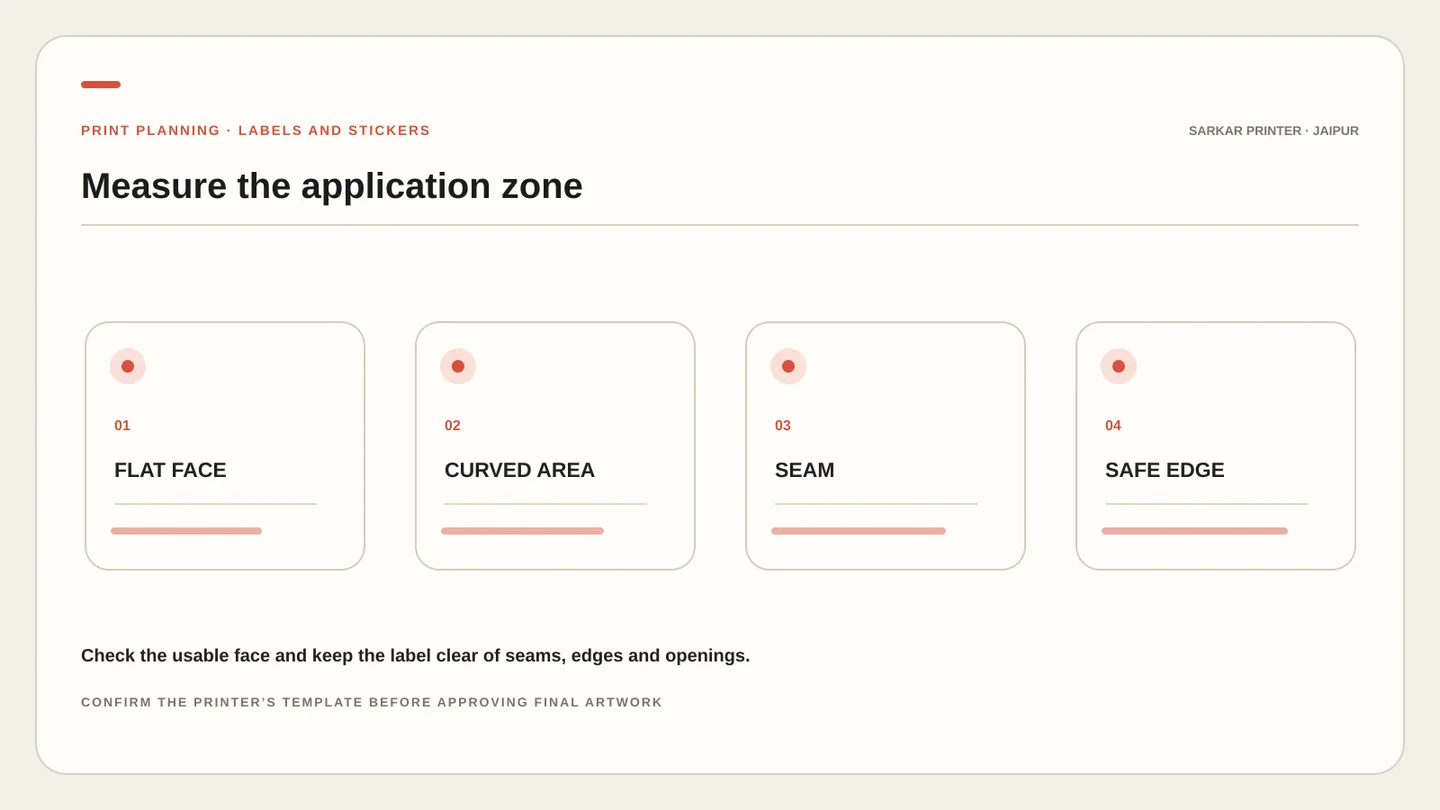
Measure the usable flat area on the package, container, folder or product. Check front and side panels separately; a curved bottle or carton corner can change how a label looks after application. Leave room for seams, edges, caps, openings and any area that should remain visible.
Make a paper mock-up at the intended size and place it on the actual item. Test it at normal handling distance and confirm that the sticker can be applied without wrinkles. For curved surfaces, share a sample container or accurate dimensions with the printer.
Fit the shape to the information
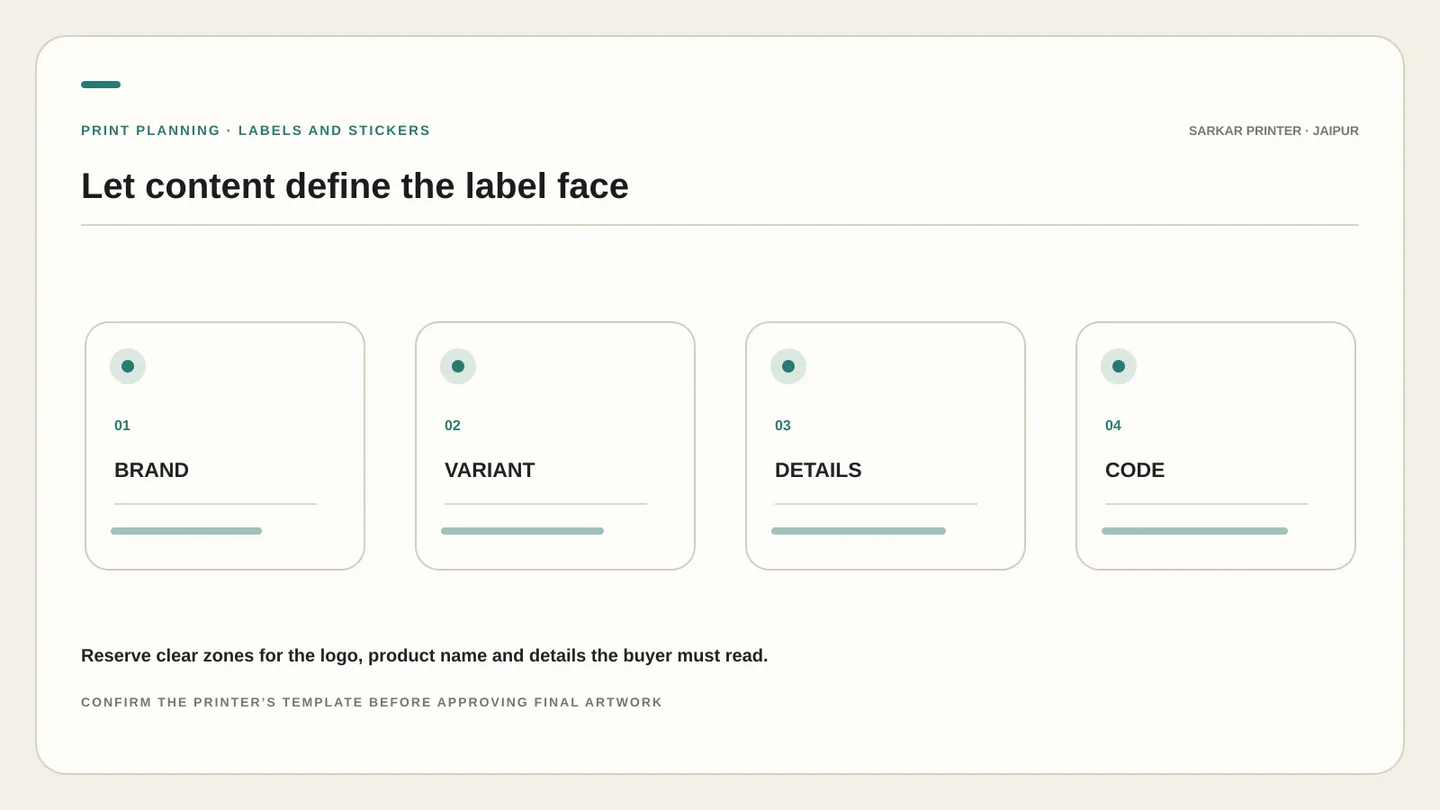
Choose a shape that supports the brand mark and essential copy. A small seal may need only a logo or short name. A product label may also carry a variant, directions, barcode or other required information. Confirm category rules with the responsible product team; a print layout alone does not establish regulatory compliance.
Set the hierarchy before fixing the dimensions: brand first, product or variant next, then supporting details at a readable size. Do not solve a crowded label by shrinking everything. Simplify copy, make the label larger or divide information between a primary label and an insert where appropriate.
Plan cut lines and sheet layout
Tell the printer whether you need individual stickers, a sheet of kiss-cut stickers or another supplied format. Sheet layout affects how many pieces fit, how quickly someone can peel them and whether the cut path works around each shape.
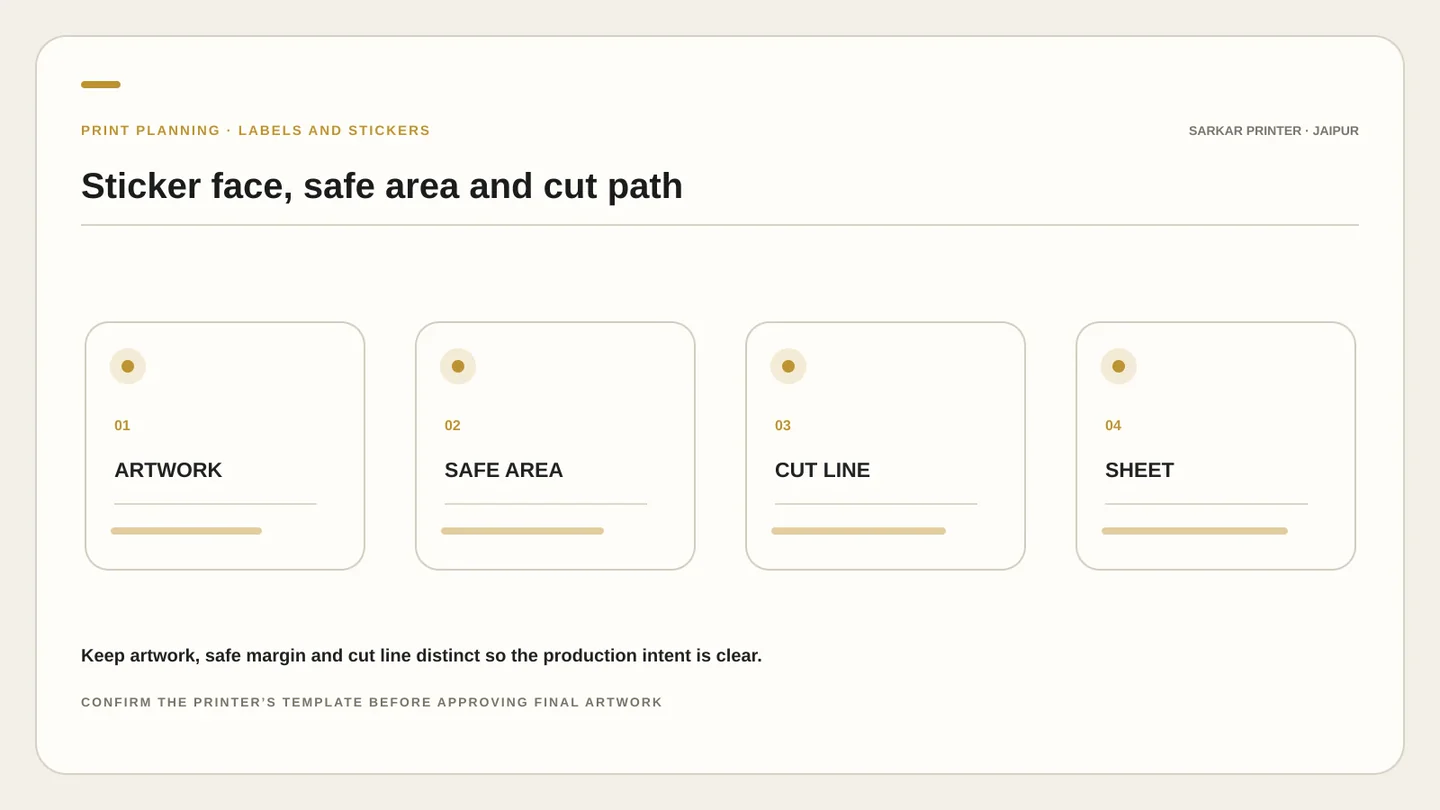
Ask for the required bleed, safe area, gap and cut-line format. Keep text away from the cut edge. A contour path should be clean and clearly named, and the proof should show the intended shape. Our custom sticker sheet guide covers the handoff; see printed product solutions for related print needs.
Approve a label that can be reordered
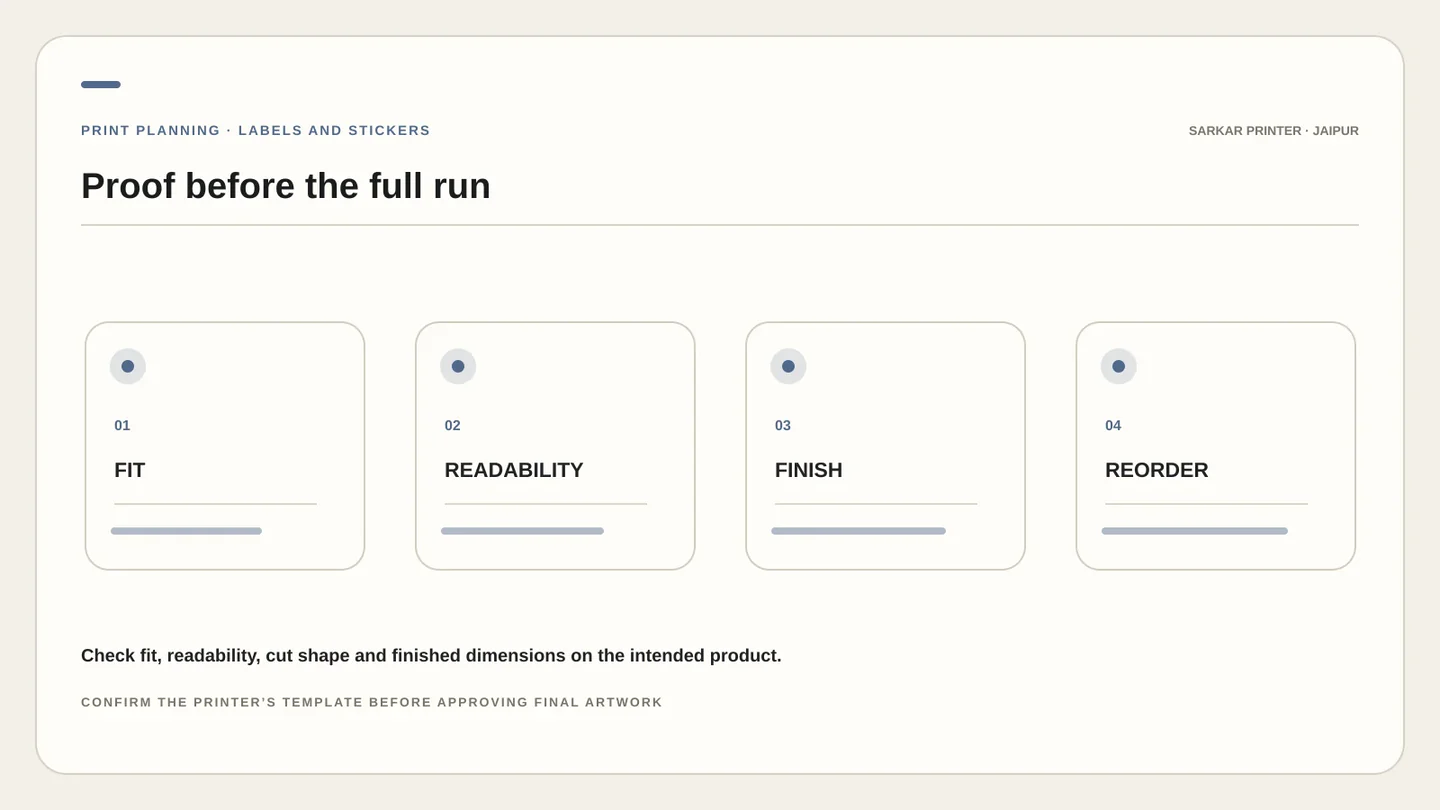
Review the proof on the actual package, not only on a screen. Check that the sticker sits level, copy remains readable and a barcode or QR code has a clear quiet zone. Verify the final dimensions, orientation, quantity and file version before release.
Keep a record of the approved artwork, finished size, material, finish, cut format and application notes. These details make a repeat order easier to specify. If the product changes, update the proof rather than reusing an outdated file. Send requirements using the Sarkar Printer enquiry form.
Sticker size planning checklist
| Check | Record | Why it matters |
|---|---|---|
| Application area | Flat width, height and curved-surface notes | Confirms the label fits the actual item |
| Finished face | Shape, orientation and dimensions | Keeps the artwork and quote aligned |
| Artwork setup | Bleed, safe area and cut-line instructions | Protects copy and defines the edge |
| Supply format | Individual stickers, sheet or roll if offered | Matches storage and application needs |
CONTINUE YOUR PRINT PLAN
Make the next print decision easier.
Measure the item and share its intended use before asking for a sticker quote.
Frequently asked questions
What is the standard size for a product sticker?
Sticker sizes are custom to the product and application area. Measure the usable face and confirm the finished dimensions with the printer.
How much space should I leave around sticker text?
Use the safe area in the printer’s template and keep important text away from the cut edge. Exact allowances depend on the production method.
What is the difference between sticker sheets and individual stickers?
A sheet holds multiple stickers on one backing, while individual stickers are supplied separately. Choose the format that suits storage and application.
Should a cut line be included in the printed artwork?
Follow the printer’s file instructions. Many workflows use a separate, clearly named cut contour so the intended shape is unambiguous.