
Product Packaging Design for Print works best when print requirements are clear before artwork is released. Use this guide to compare choices, brief a printer and check the final proof. Materials, tolerances and compliance requirements depend on the product and supplier, so confirm them against the final specification. Verify package surface aesthetics using the Pantone Matching System and ensure raw stock conforms to FSC certified paperboard standards.
Start with the product, buyer and shelf moment
Good product packaging design begins with the job the pack must do. Note what it contains, who chooses it, where it will be seen and how it will be handled. A retail carton has different priorities from a shipper moving through a warehouse.
Set a clear information order: brand and product name first, the key benefit or variant next, then supporting details. Use contrast, size and spacing to guide the eye. Avoid making every panel compete for attention; the shopper should recognise the product and find details quickly.
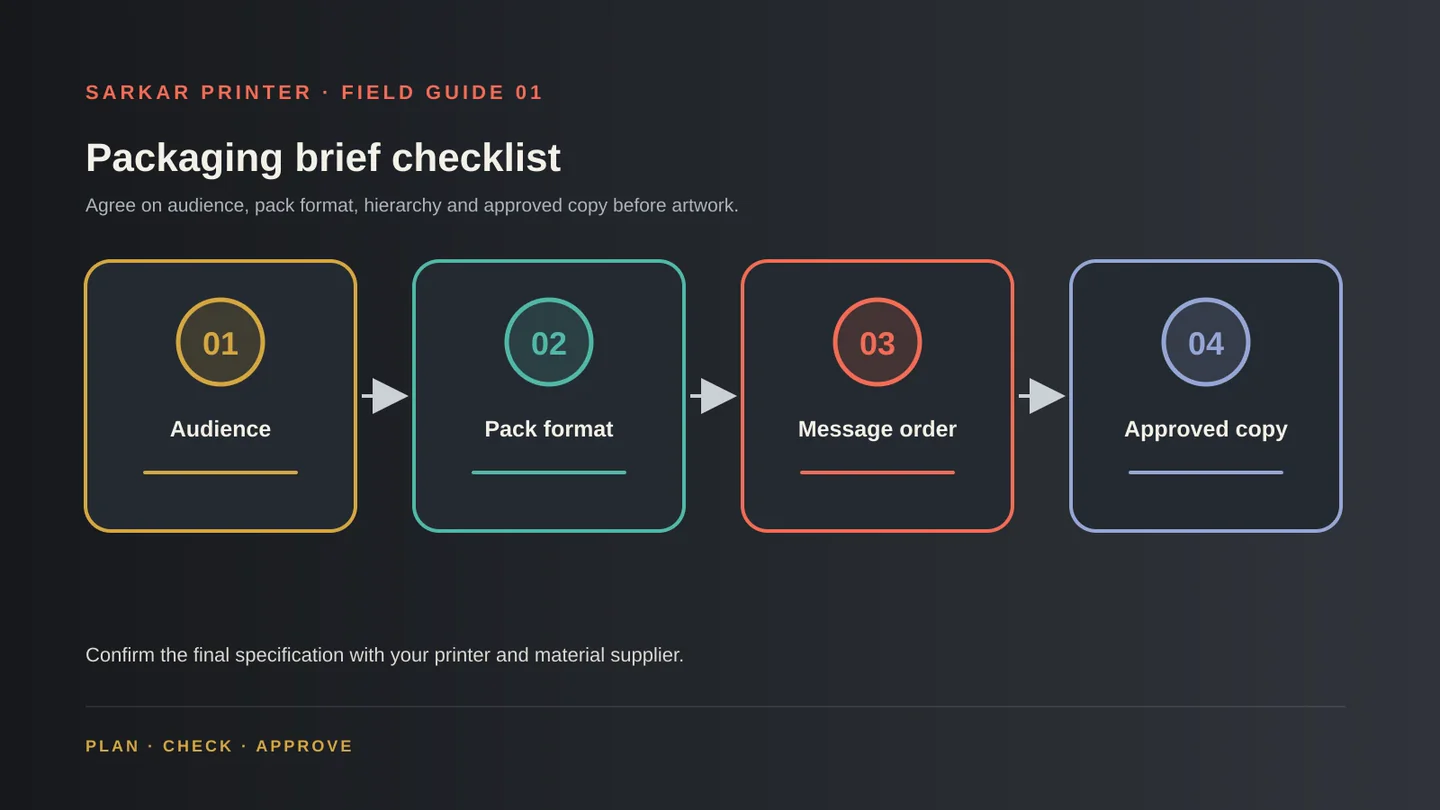
Before artwork starts, collect the approved logo, product names, variant colours, copy, required text and any barcode or QR assets. Keep one source of truth for each so the design does not use outdated wording.
Build the layout on the correct dieline
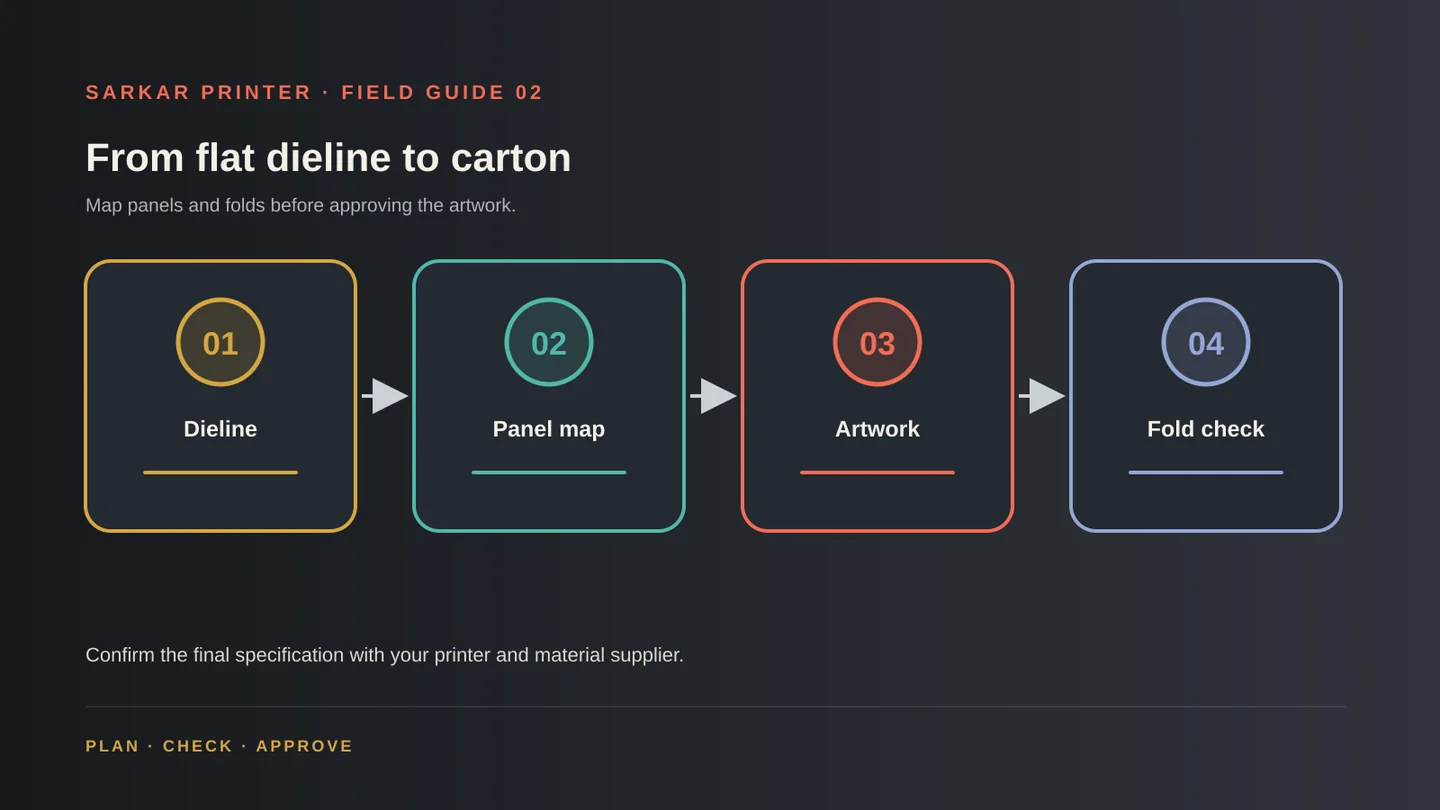
A dieline maps panels, folds, cut edges and glue areas. Ask the printer or packaging supplier for the correct version for the chosen structure and material. An approximate template can place text into a fold, trim or adhesive area.
Place the main product name on the panel customers see first. Keep details away from crease lines and leave the required clear space around barcodes. Use a separate, clearly named non-printing layer for the dieline, extend backgrounds through the specified bleed and keep text inside the safe area.
Check the assembled mock-up in three dimensions before release. The packaging service overview can help start a discussion about format and print requirements.
Match material and finish to real use
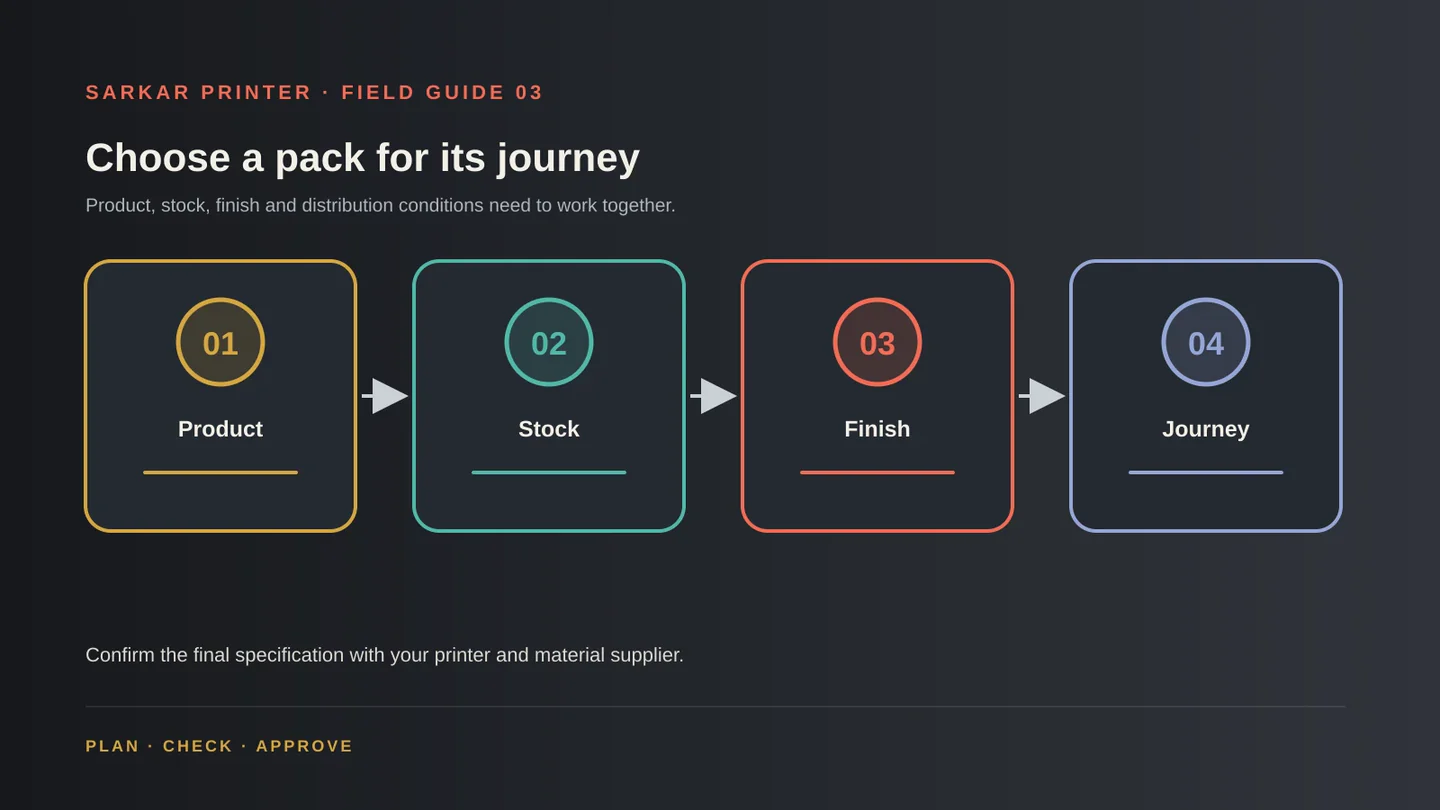
Choose paperboard or paper based on product weight, protection, storage, distribution and appearance. Ask for a sample or specification rather than choosing by screen colour alone; inks and finishes can look different on coated, uncoated or textured stock.
Matte or gloss lamination, aqueous coating, foil or embossing can change appearance and handling. Each option affects production and may influence recycling pathways. Confirm availability, durability and any material claims with the supplier before putting them on the pack.
For transport, ask how the package will be stacked, packed and exposed to moisture or abrasion. Review the complete pack journey, including any corrugated shipper, rather than judging the decorative carton alone.
Preflight files and approve a proof
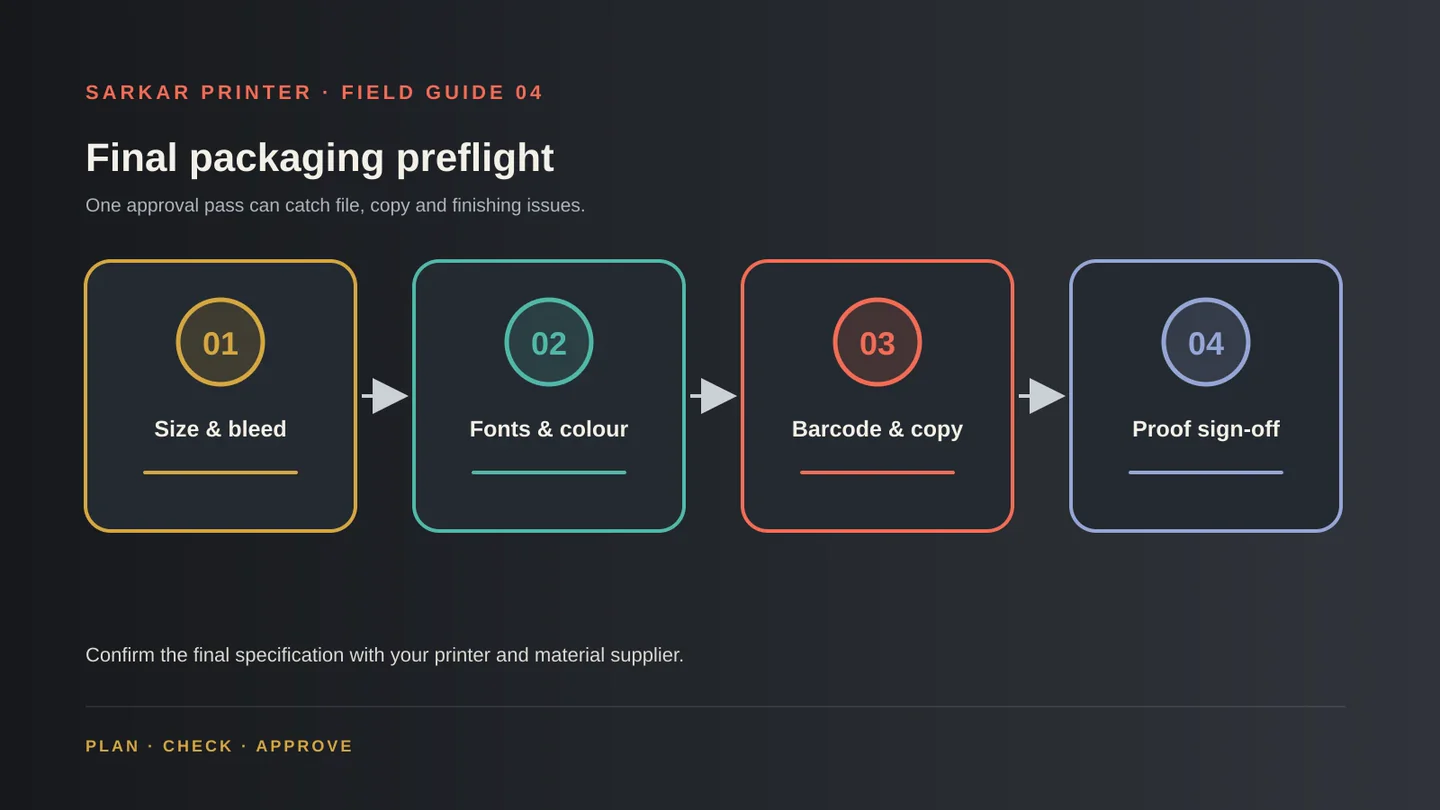
Before sending files, confirm finished size, panel order, bleed, safe margins, image resolution, fonts, colour settings and spot colours with the printer. Provide the final dieline and artwork in the agreed format, and label the approved version so it replaces earlier drafts.
Review a proof for spelling, product variant, barcode, required copy, fold direction, panel sequence, image crop and finish callouts. A screen proof helps with layout; a physical proof or material sample can show differences in colour, texture and scale.
Collect corrections in one list. After approval, ask the production team to confirm the specification and timing. For an estimate, share pack format, dimensions, quantity, stock preference, finish and delivery location through the contact page.
Product packaging design handoff
| Area | Confirm | Check before release |
|---|---|---|
| Pack format | Structure and dimensions | Use the current supplier dieline |
| Artwork | Approved file and linked assets | Check folds, bleed and safe area |
| Material | Stock and finish | Request a sample where needed |
| Release | Proof and copy sign-off | Keep one final approved file |
CONTINUE THE PRINT PLAN
Turn the guide into a clear print brief.
Compare service details or send the team your requirements for a print estimate.
Frequently asked questions
What belongs in a packaging design brief?
Include the product and audience, pack format and dimensions, quantity, brand assets, approved copy, required codes, material preference, finish and delivery timing.
Why do packaging files need a dieline?
A dieline maps folds, cut edges and glue panels. It helps place artwork accurately and keep important text away from production boundaries.
Should I choose material before designing packaging?
Yes. Structure and material affect panel dimensions, folds, appearance and available print options. Confirm the specification before final layout.
What should I check on a packaging proof?
Check copy, variant, barcode, panel sequence, fold direction, image crop, colour intent, finish notes and assembled appearance.