
Apparel packaging often combines a garment tag, size or care information, a wrap or bag, and sometimes an insert. Apparel packaging printing should make the set easy to identify, pack and replenish across sizes and styles.
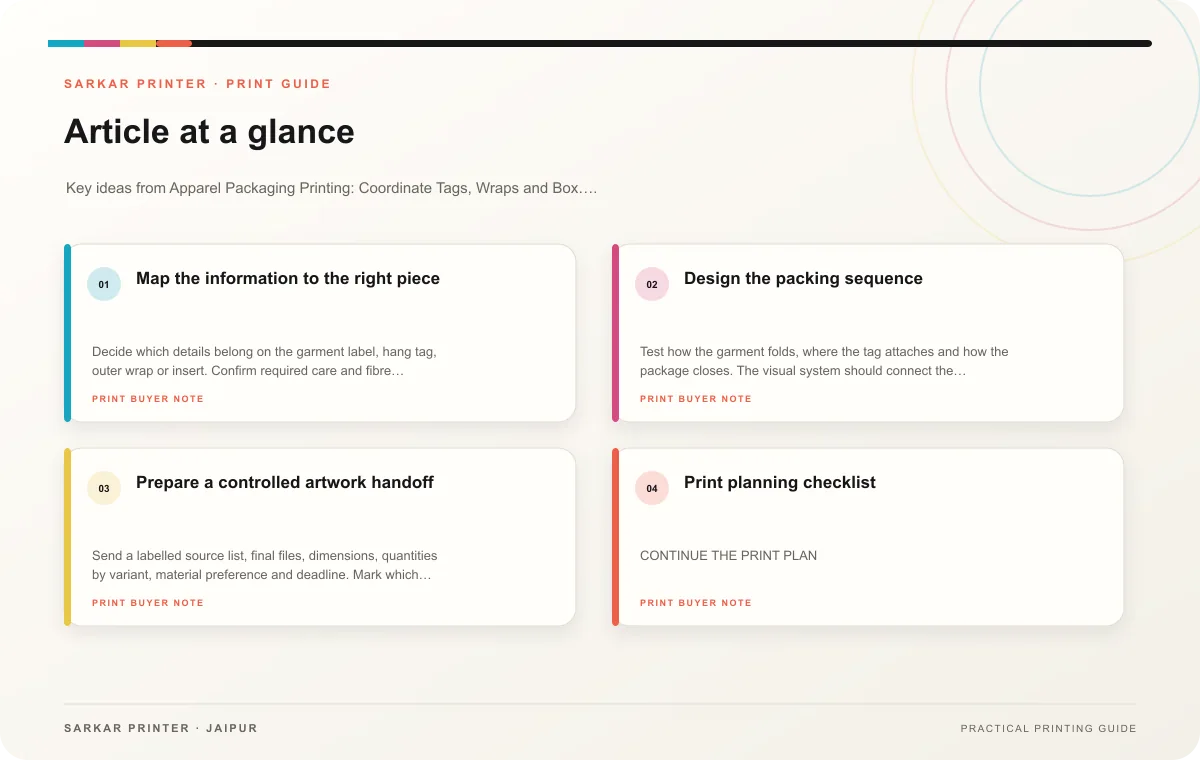
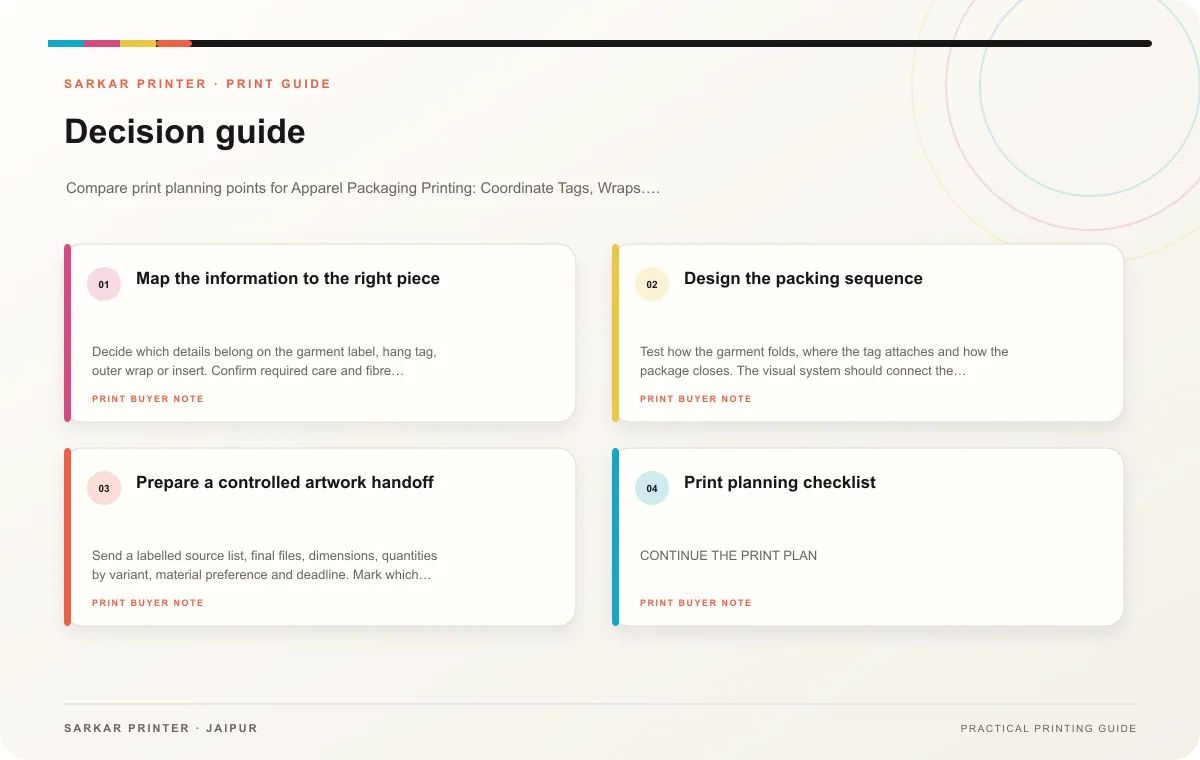
Map the information to the right piece
Decide which details belong on the garment label, hang tag, outer wrap or insert. Confirm required care and fibre information with the product owner for the relevant market. Use the hang tag for brand or product details that help a shopper, and keep the shipping or storage wrapper focused on protection and identification.
Make variant information easy to match. Use an approved style, colour and size list, then assign codes consistently. If different garments use a shared tag design, verify that the size marker is clear and that staff can attach the correct version without guesswork.
Design the packing sequence
Test how the garment folds, where the tag attaches and how the package closes. The visual system should connect the pieces, but the material and format can vary by use. A tag should remain visible at retail; a wrap should suit storage and fulfilment. Ask the printer which stocks, finishes and adhesives meet the practical needs.
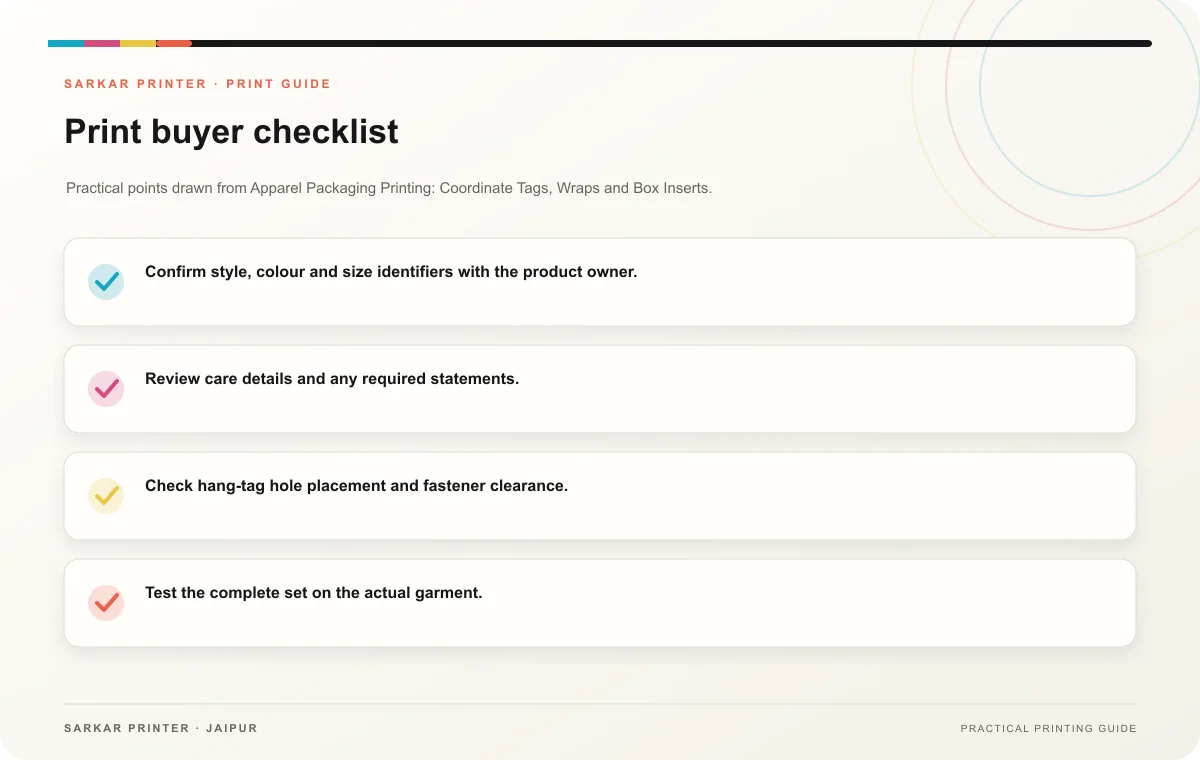
- Confirm style, colour and size identifiers with the product owner.
- Review care details and any required statements.
- Check hang-tag hole placement and fastener clearance.
- Test the complete set on the actual garment.
- Provide quantity by variant and replacement schedule.
Prepare a controlled artwork handoff
Send a labelled source list, final files, dimensions, quantities by variant, material preference and deadline. Mark which pieces are common across the range and which change. Keep a dated approved master so future reorders stay consistent as collections change.
Print planning checklist
| Topic | Key point | Check before approval |
|---|---|---|
| Map the information to the right piece | Decide which details belong on the garment label, hang tag, outer wrap or insert. Confirm required care and fibre information with the product owner for the relevant market. Use the hang… | Record the agreed choice in the approved print brief. |
| Design the packing sequence | Test how the garment folds, where the tag attaches and how the package closes. The visual system should connect the pieces, but the material and format can vary by use. A tag should… | Record the audience and main message in the print brief. |
| Prepare a controlled artwork handoff | Send a labelled source list, final files, dimensions, quantities by variant, material preference and deadline. Mark which pieces are common across the range and which change. Keep a… | Check the supplied file at final size and confirm bleed and safe areas. |
CONTINUE THE PRINT PLAN
Keep the next step useful.
Explore the service page or related drafts, then send the agreed brief to the print team.
Frequently asked questions
Can one hang tag serve multiple sizes?
It can if size information remains clear and the tag format fits every garment. Check the process with the apparel team.
Where should care information go?
Use the garment’s approved care label or another channel required for the product. Confirm placement and wording with the responsible owner.
How do we avoid mix-ups during packing?
Use consistent identifiers, labelled bundles and a sample pack for each product variant.